
Location: Sacramento, CA
Project type: Full kitchen remodel with structural wall opening
Services: Design, permits, demolition, framing, window replacement, plumbing, electrical, drywall, flooring, cabinetry, countertops, backsplash, lighting, finish work
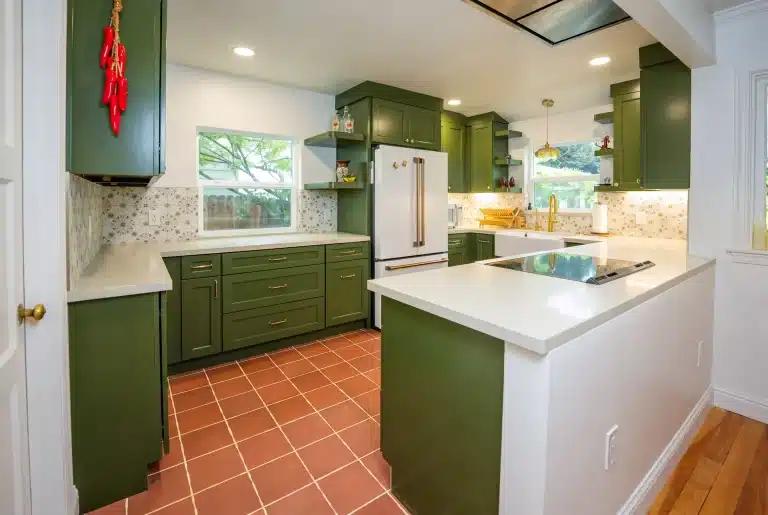
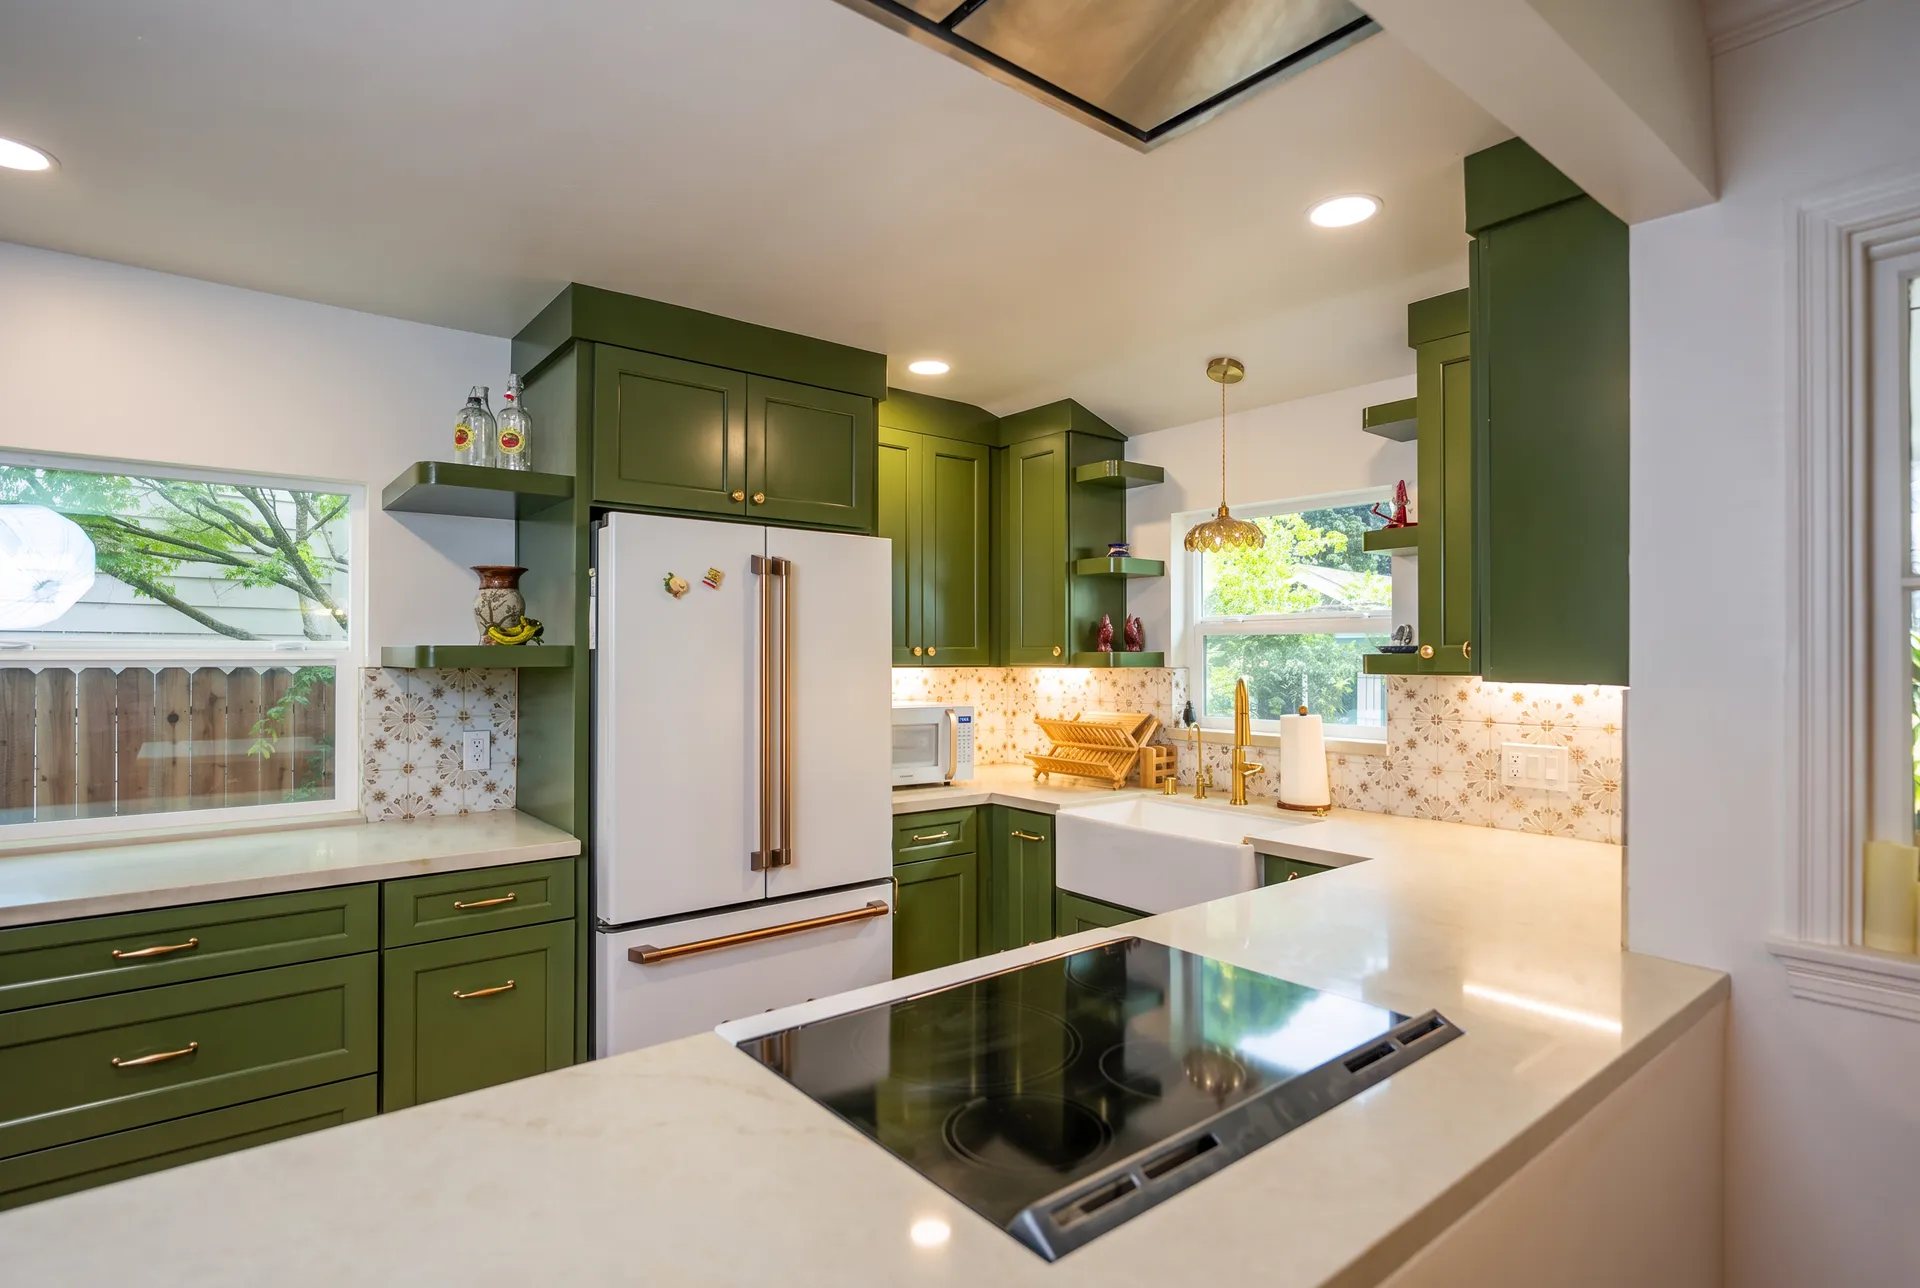
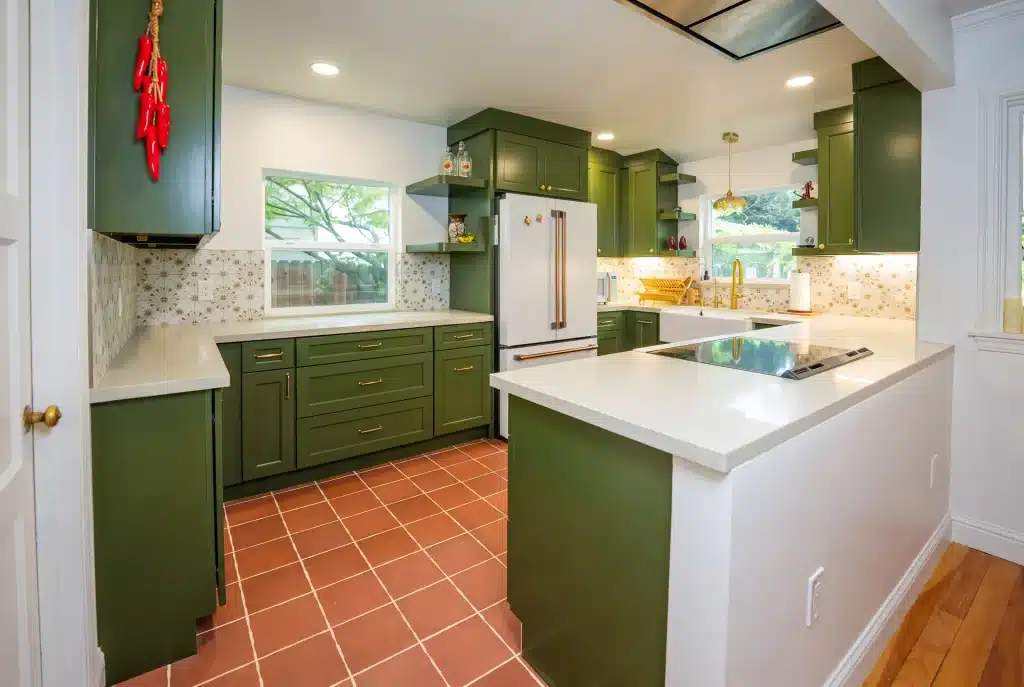
This Sacramento homeowner wanted a kitchen that felt connected to the rest of the home. The old kitchen was closed off from the living room by a wall, and the window sat too low to work with a standard countertop. Tenax Construction handled the project from start to finish: design plans, permits, a new structural opening and a complete new kitchen with fresh cabinets, countertops, flooring and lighting.
The Goal: Open the Kitchen to the Living Room
The homeowner’s wish list was clear:
- Open up the wall between the kitchen and the living room for an open-concept layout
- Fix the window so it lines up with the new countertop height
- Keep the sink and refrigerator in place to keep the plumbing simple
- Upgrade everything else: cabinets, counters, backsplash, flooring, lighting and electrical
- Add character with a wallpapered bar area and decorative open shelves
Step 1: Design, Plans & Permits
Like every Tenax kitchen remodel, this project started with design. Our team gathered the homeowner’s requirements, developed and presented concepts, and refined every detail until the design was final.
Next, we prepared a permit-ready set of plans for the City of Sacramento building department. We filled out the paperwork, worked with the city to get the permits, and scheduled and attended every inspection. The homeowner didn’t have to deal with the city at any point.
Step 2: Demolition & Site Protection
Before demolition, we protected the surrounding surfaces. Then we removed:
- Existing kitchen cabinets and countertops
- Existing appliances
- Existing kitchen flooring
- The section of wall separating the kitchen and the living room
- The existing kitchen window, so the opening could be made shorter
All debris was hauled away to an approved disposal facility, and the site was cleaned up before the next phase.
Step 3: Structural Framing for the Open Concept
Opening a wall takes real construction work. Our crew framed the new opening and installed a structural header beam across it, built to the construction plans. We also:
- Reframed the window opening to its new, shorter height
- Added studs, blocking and framing where needed
- Framed in and sealed a former door opening
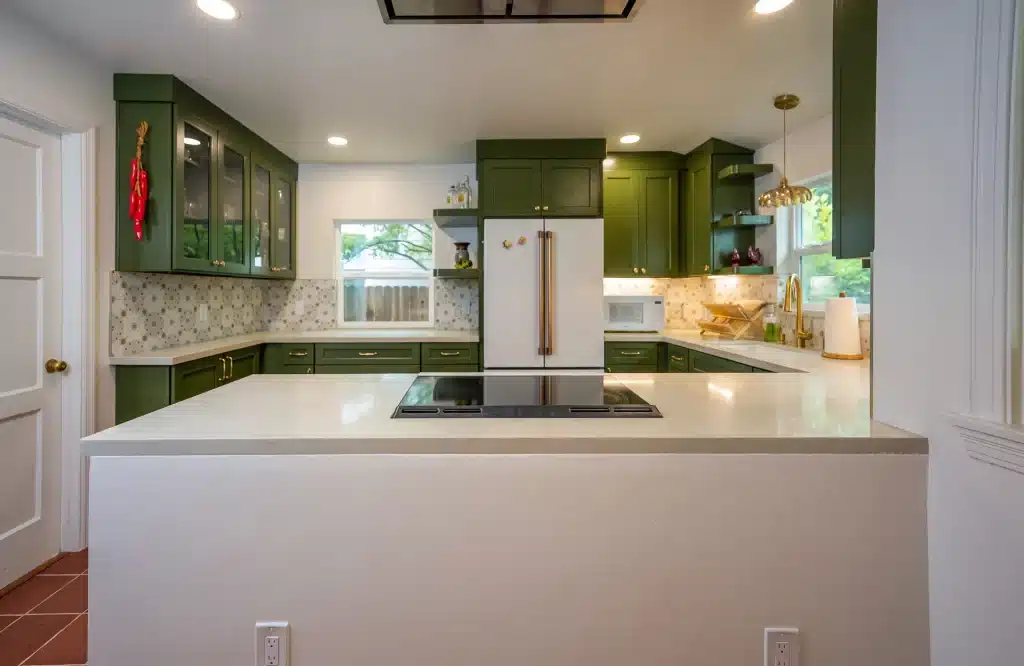
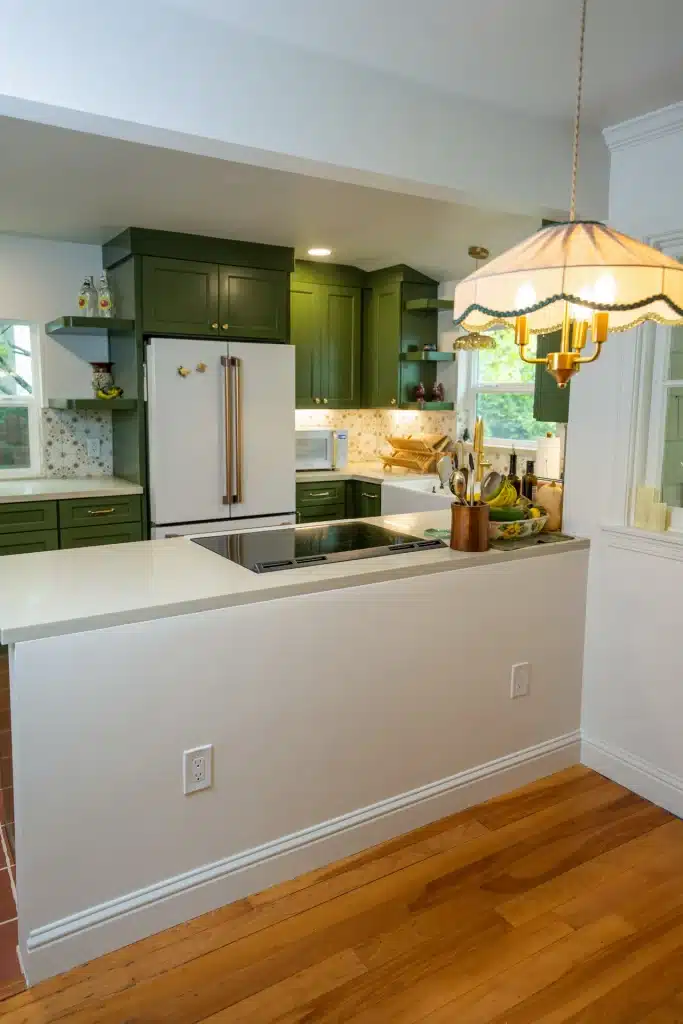
The result is a wide, clean pass-through between the kitchen and the living room, so the two spaces now read as one.
Step 4: New Window & Exterior Siding Patch
Shortening a window changes the outside of the house too. We installed a new, smaller kitchen window, then shimmed, secured and sealed it around the perimeter for weatherproofing. Outside, we patched the siding where the old opening used to be and painted the patch to match the existing siding color, so the change blends in from the street.
Step 5: Plumbing & Electrical Upgrades
Plumbing: We kept the sink and the refrigerator in their original locations, which keeps a remodel efficient. New water supply lines and drain, waste and vent piping were installed to code, and the existing gas line was capped off.
Electrical: The kitchen got a full electrical upgrade:
- New dedicated circuits for the range, microwave, garbage disposal and dishwasher
- Wiring rerouted out of the wall section that was removed
- New and relocated outlets, including GFCI and specialty outlets
- New switches, including dimmer options
- 4 new recessed can lights for even task lighting
- 1 new pendant light over the sink
Step 6: Drywall, Texture & Paint
After the framing and rough-ins, we hung new drywall on the walls and ceiling, including over the new structural beam, the reframed window opening and the closed-off doorway. Walls and ceiling were taped and textured to match the home, and the whole kitchen was painted, with full prep, priming and cleanup.
Step 7: LVP Flooring & Baseboards
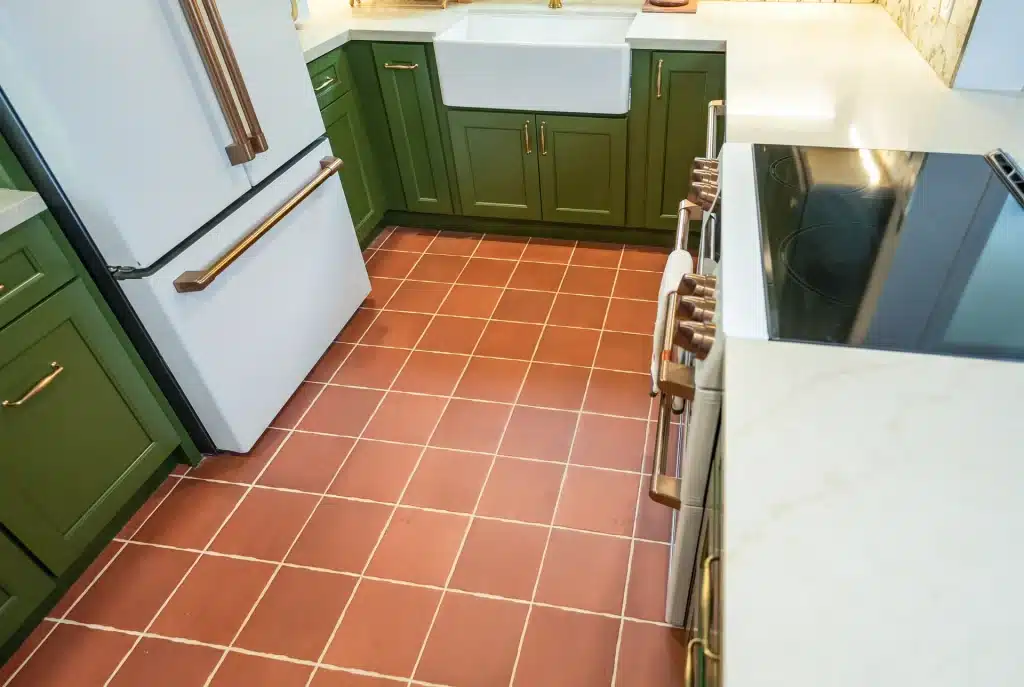
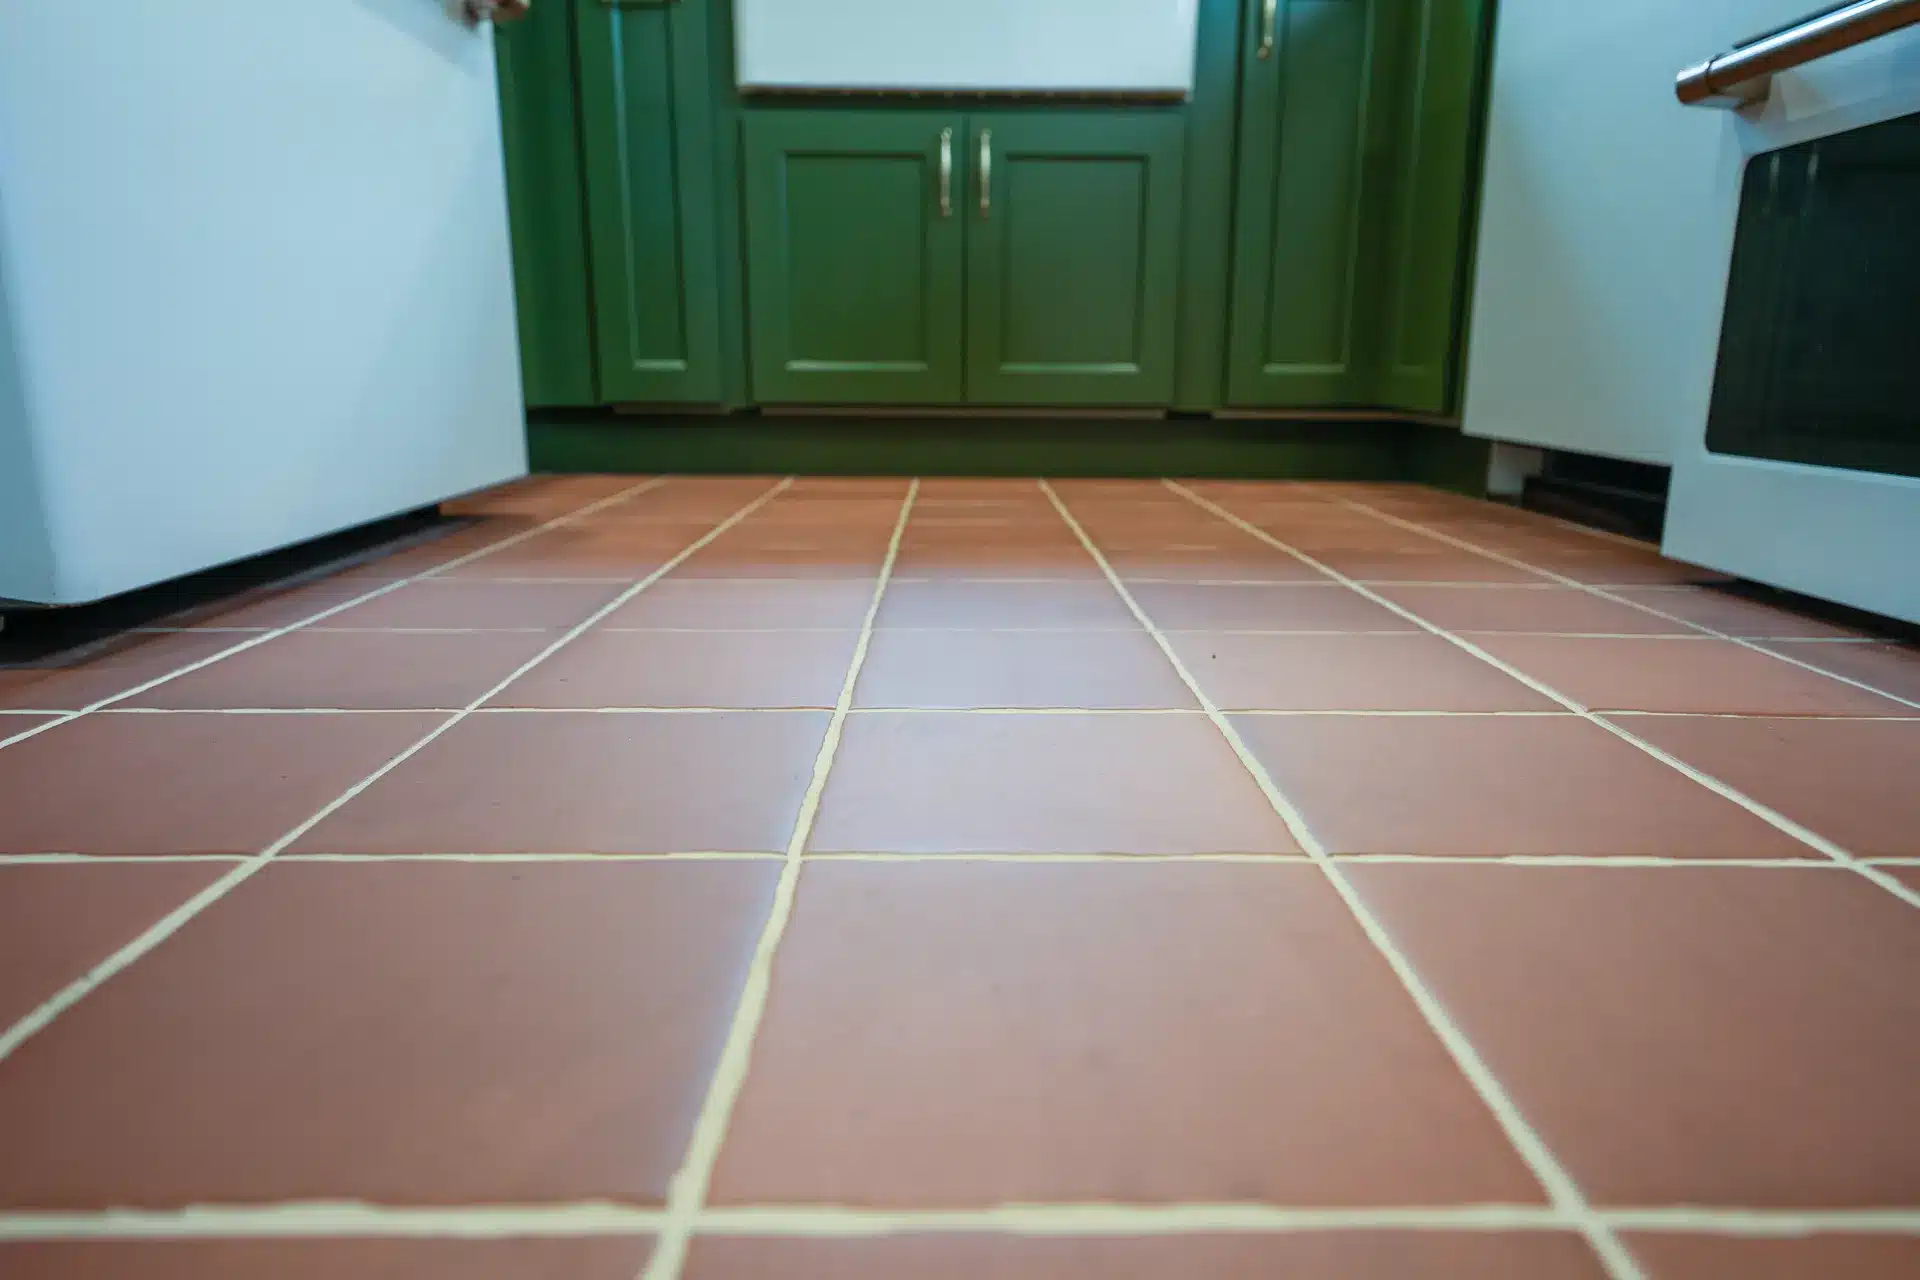
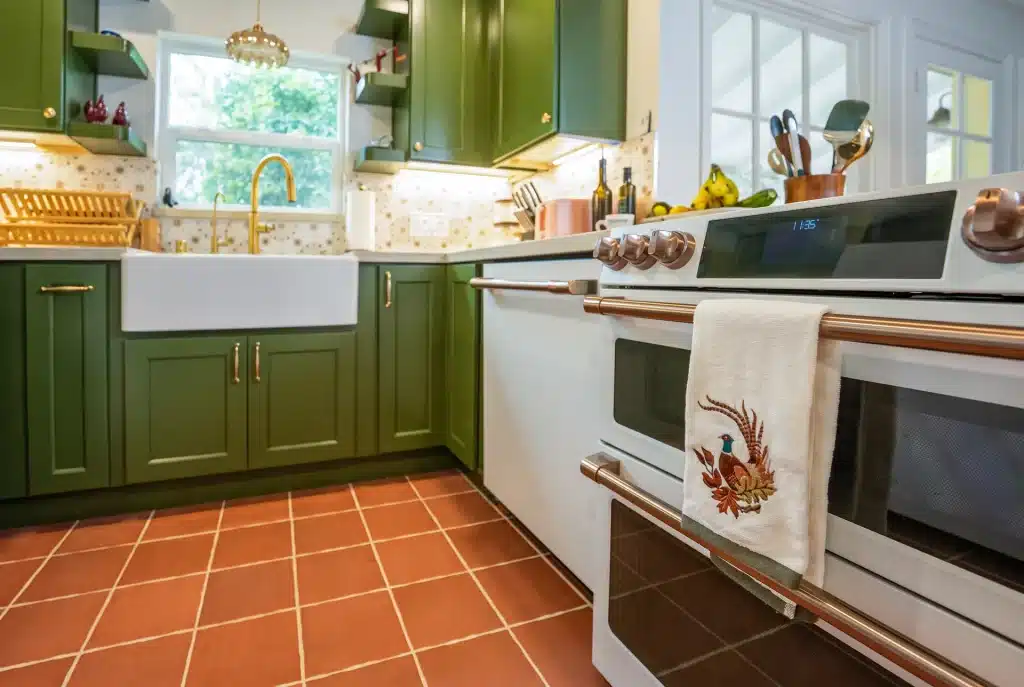
We prepped the subfloor by cleaning, patching and leveling it as needed, then installed luxury vinyl plank (LVP) flooring. LVP is durable and water-resistant, which makes it a practical choice for Sacramento kitchens. New 5½-inch baseboards finish the floor.
Step 8: Cabinets, Countertops & Backsplash
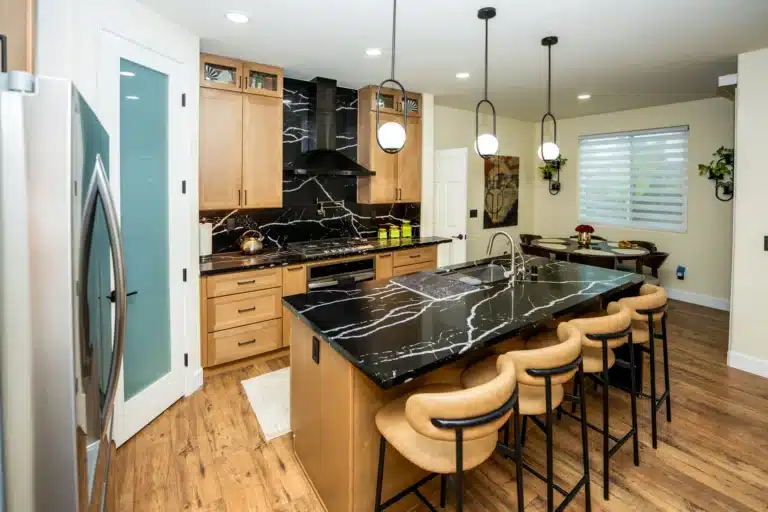
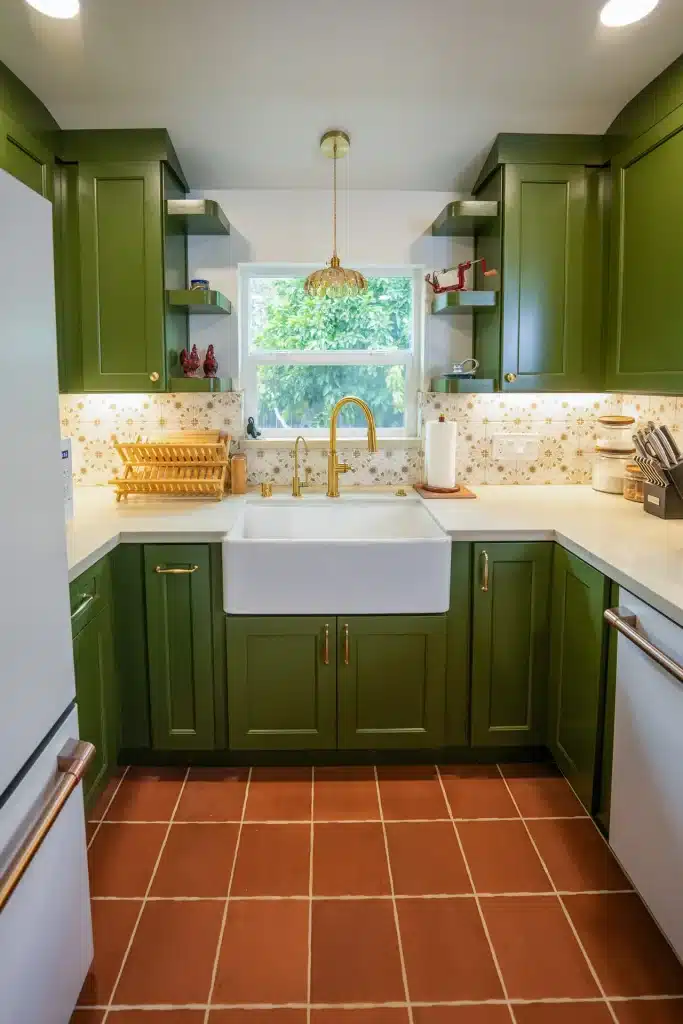
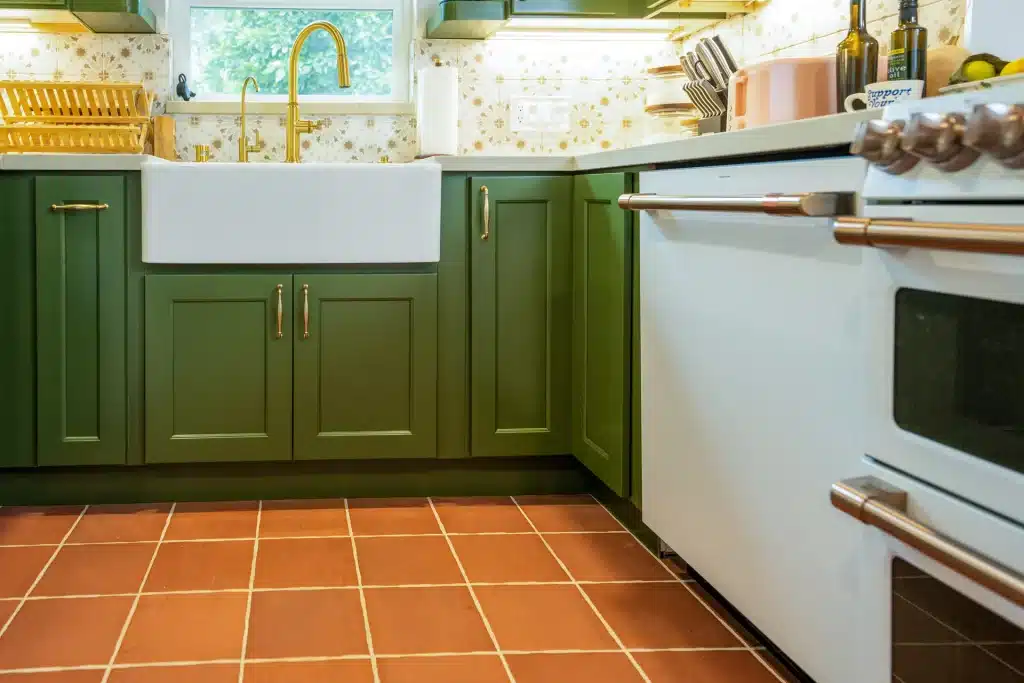
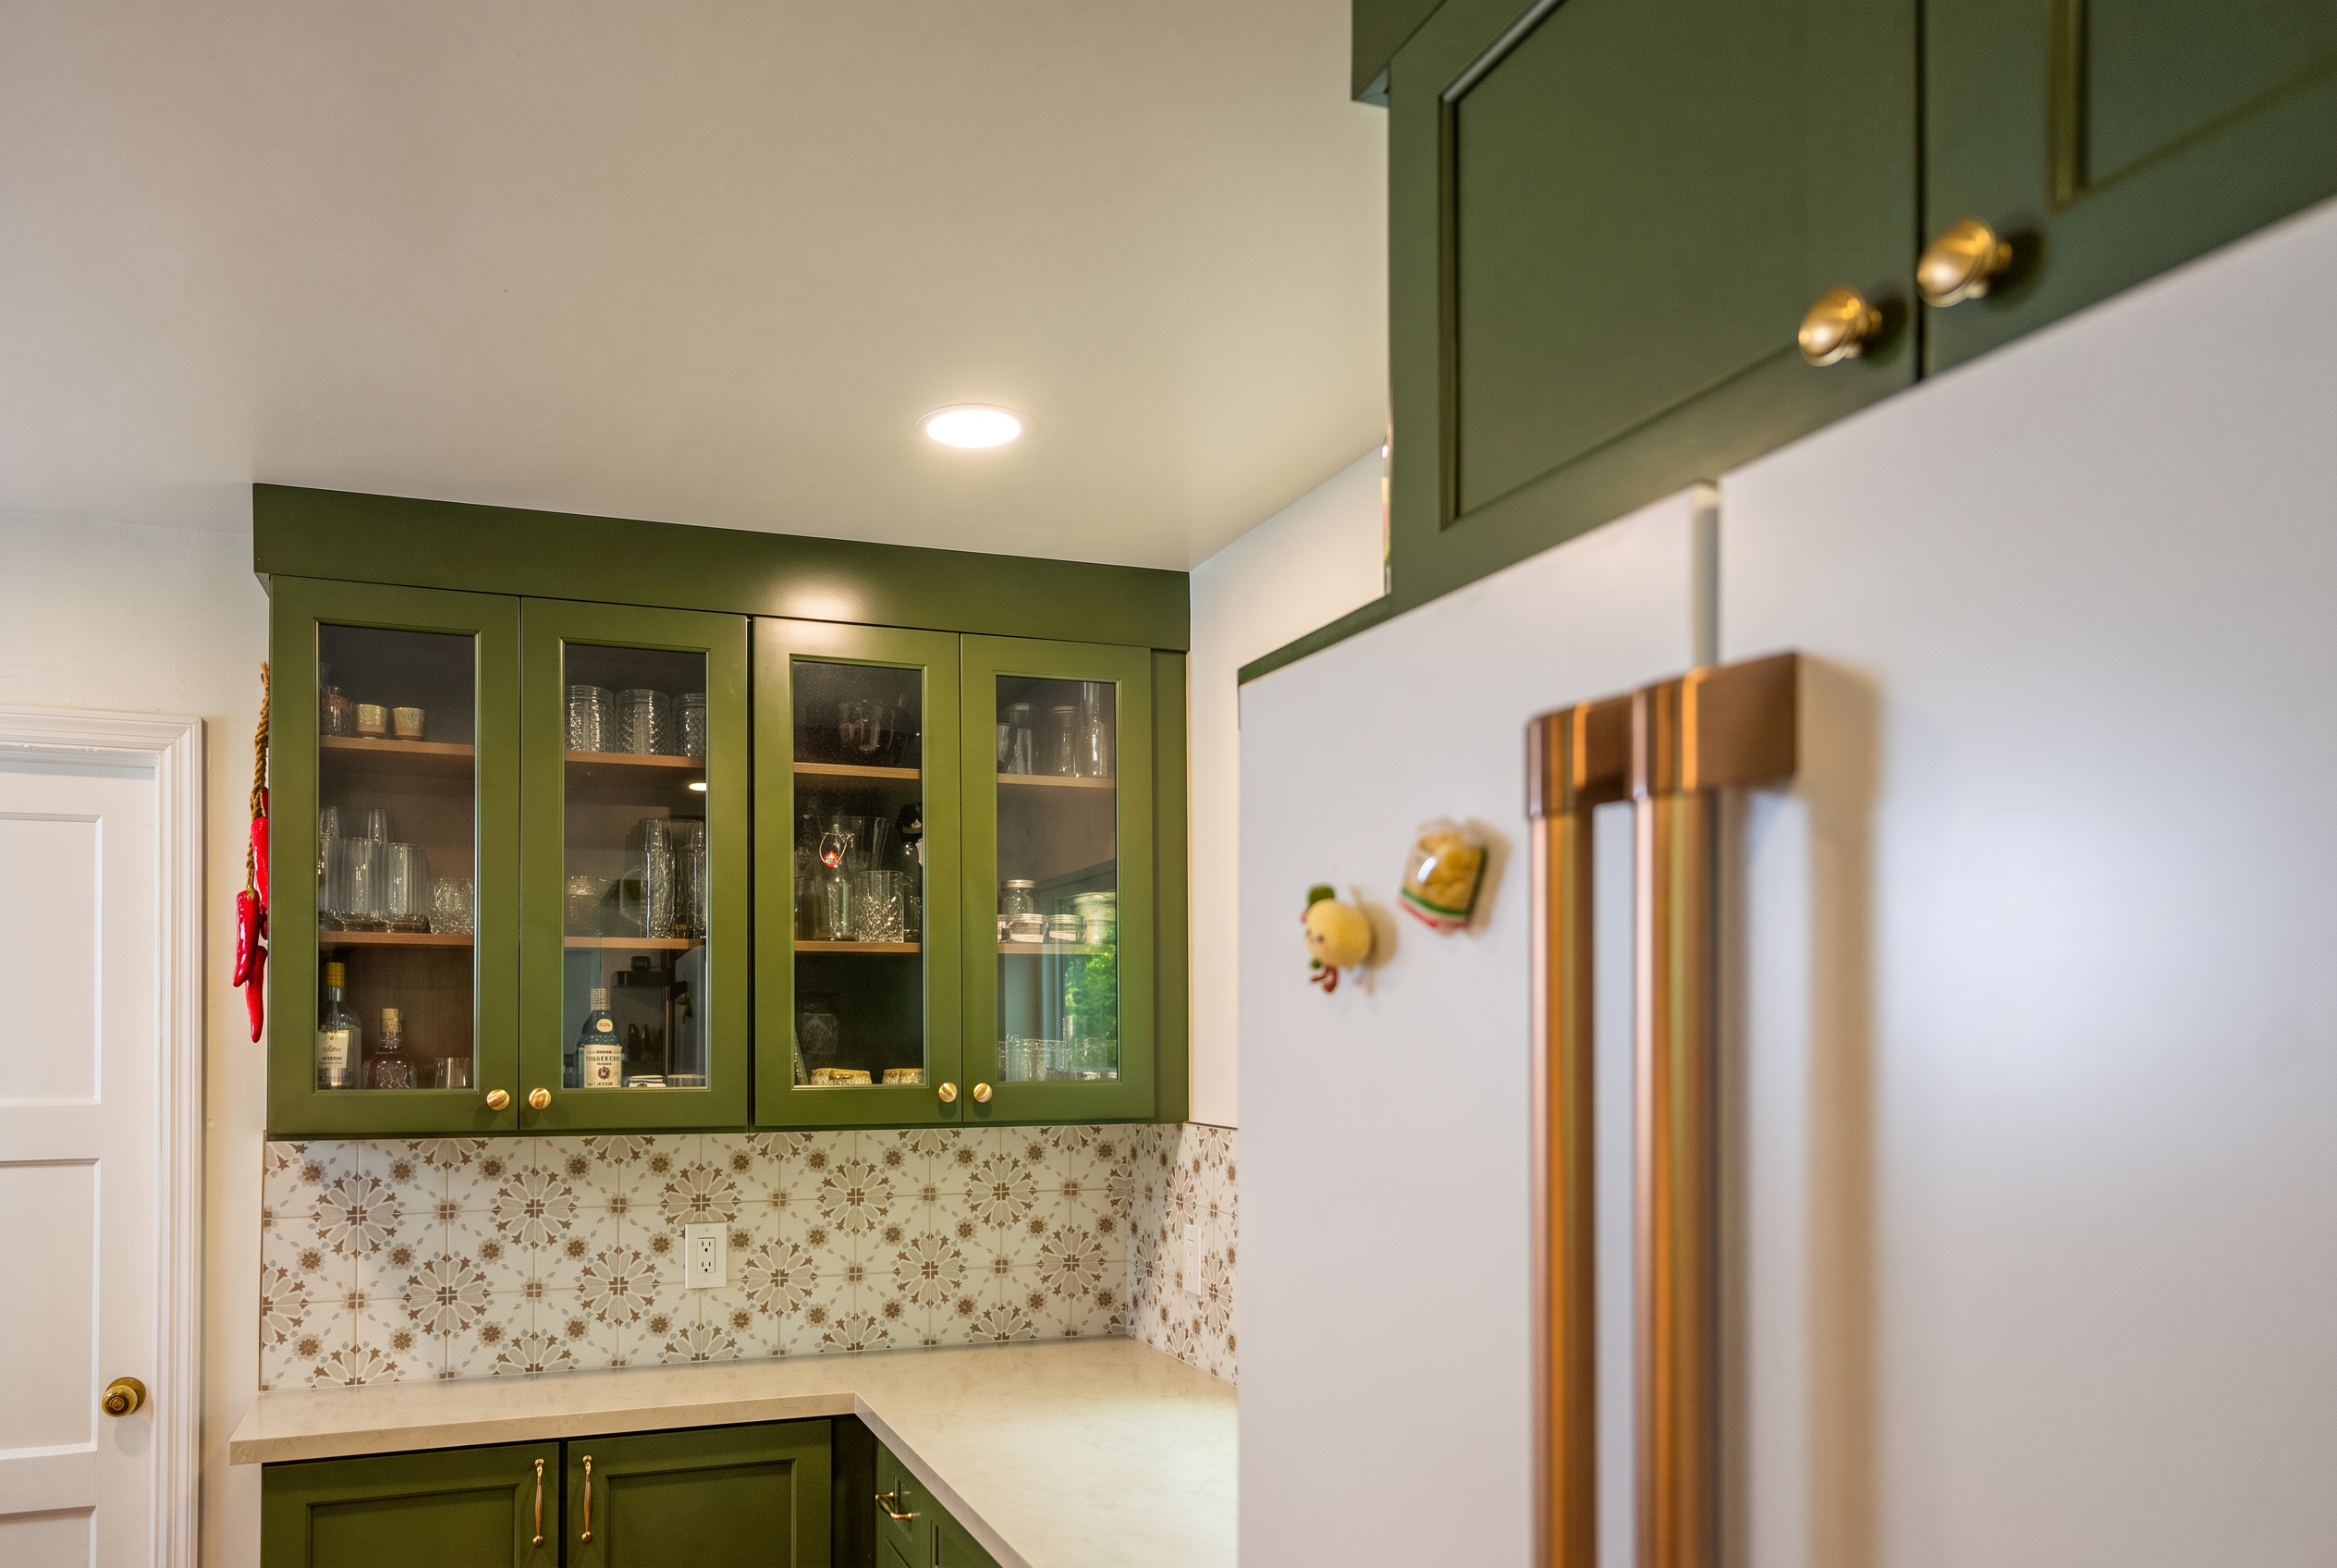
Cabinetry: The new cabinets have solid wood doors, plywood boxes, dovetailed drawer boxes and soft-close doors and drawers. Each cabinet was leveled and secured to line up with the reframed window and the new beam. Drawer pulls are polished nickel for a clean, timeless look.
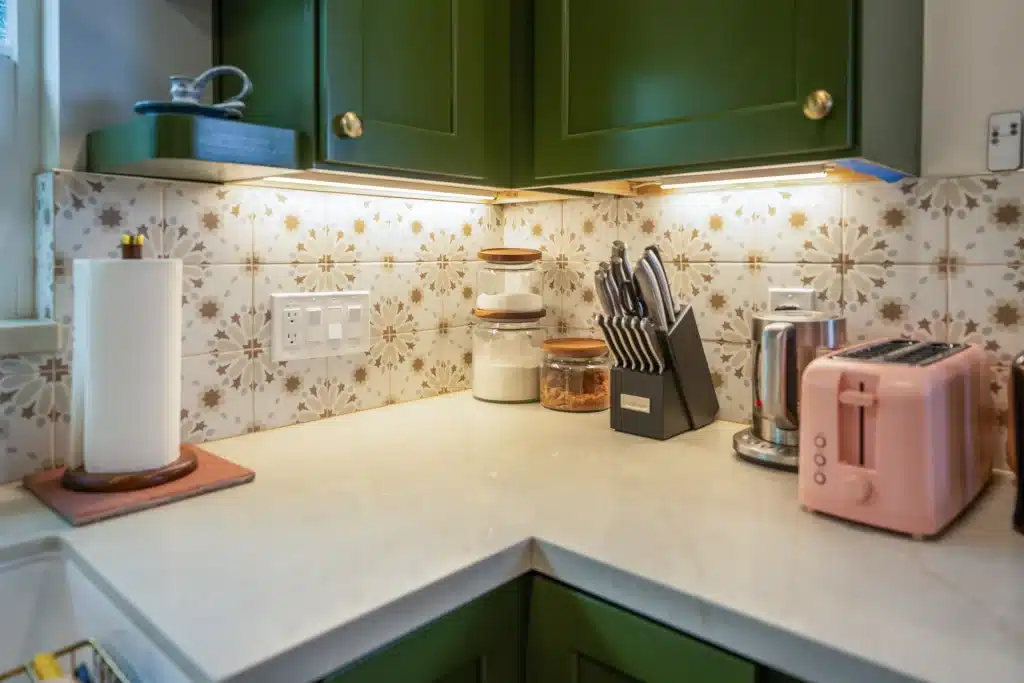
Countertops: We installed prefabricated countertops with a standard eased edge.
Backsplash: The tile backsplash was laid in a clean, standard pattern, grouted, and finished with Schluter edge trim for crisp edges.
Step 9: Fixtures, Lighting & Finishing Touches
To finish the kitchen, our team installed:
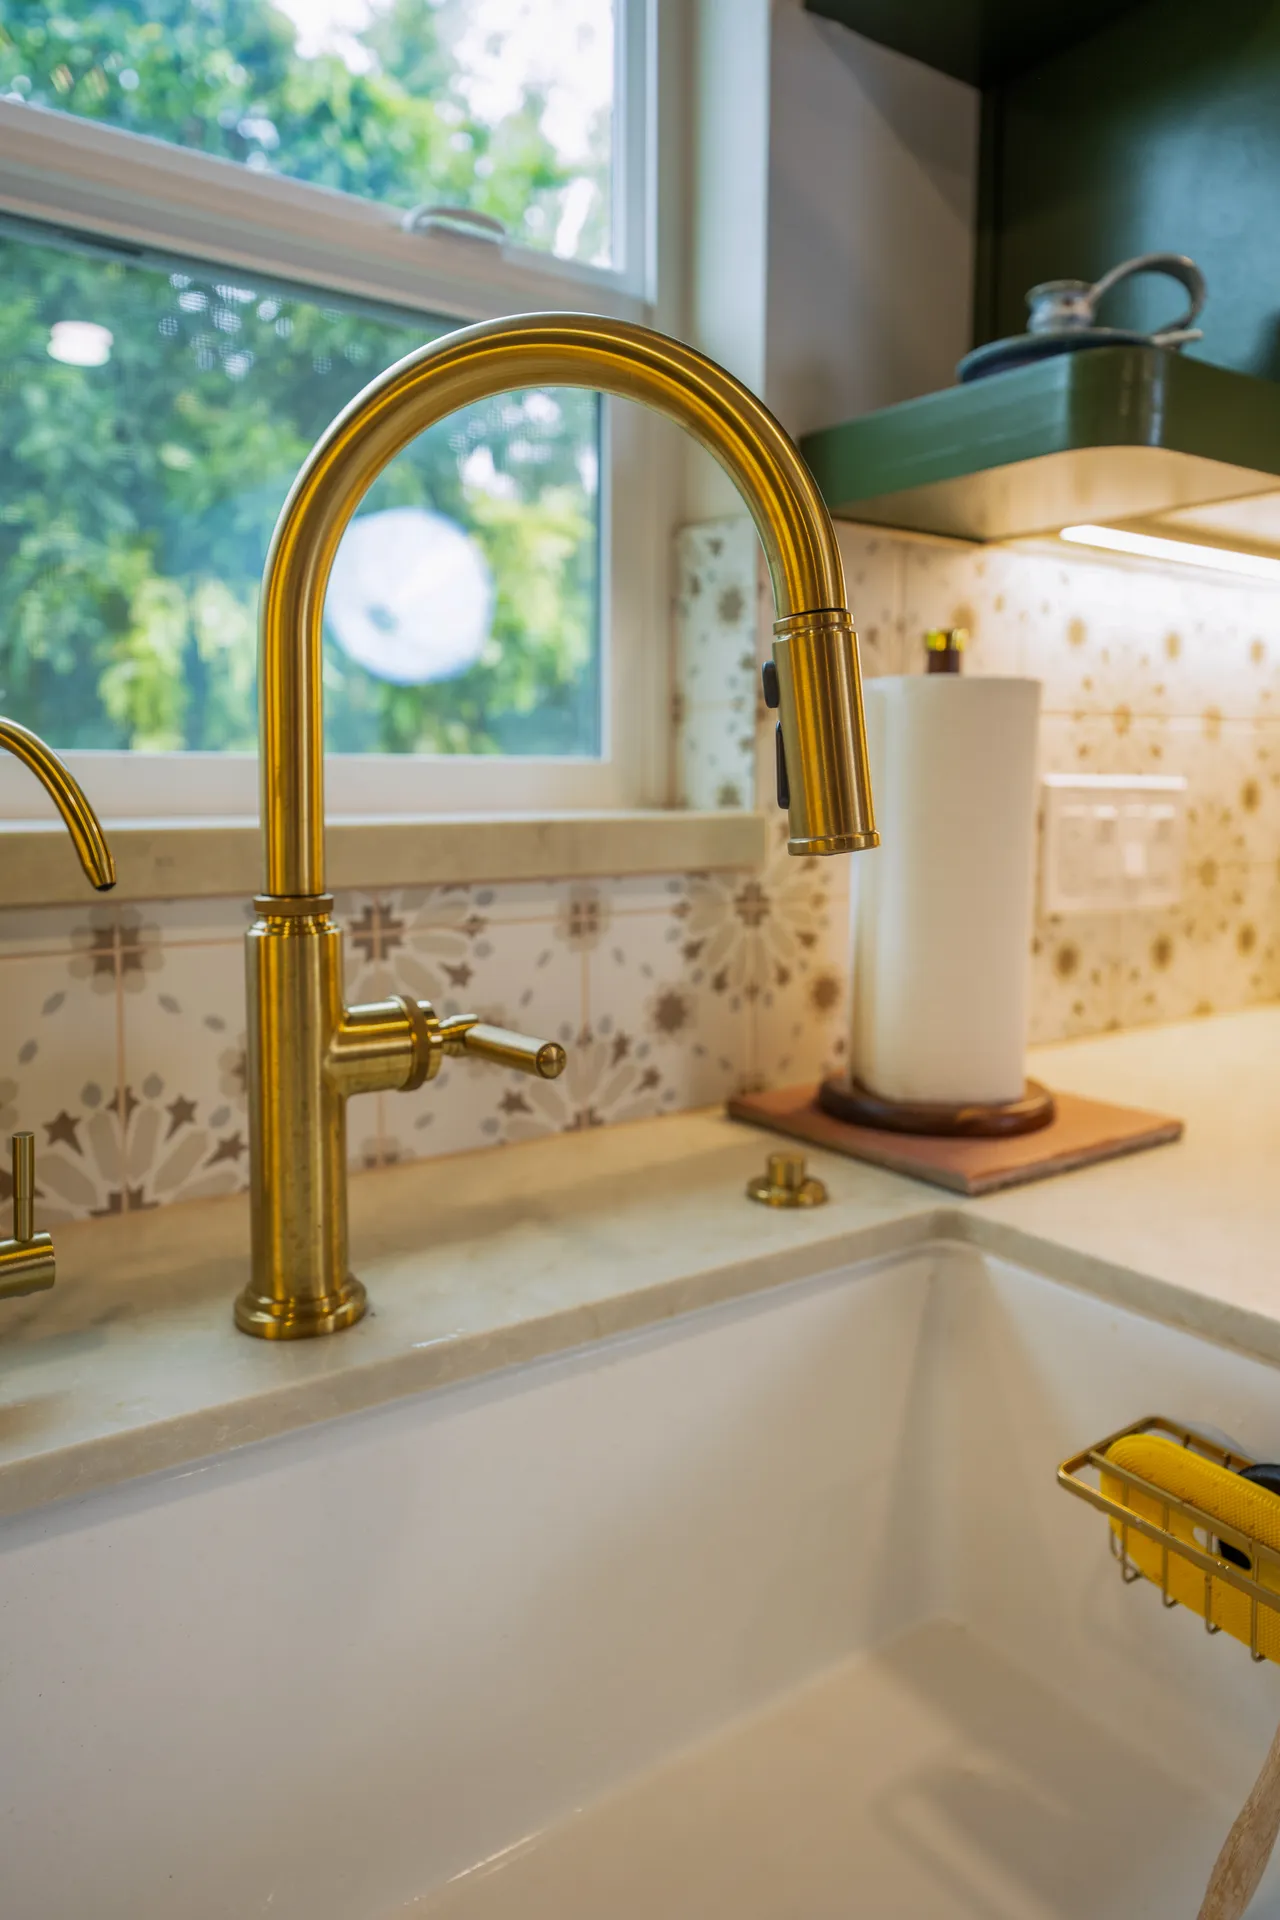
- A new kitchen sink with a faucet and built-in soap dispenser
- A garbage disposal
- The dishwasher and other appliances, connected to utilities
- The recessed lights and pendant fixtures
- Wallpaper in the bar area, which gives it its own identity
- Decorative open shelves, placed where the homeowner wanted them
The Result
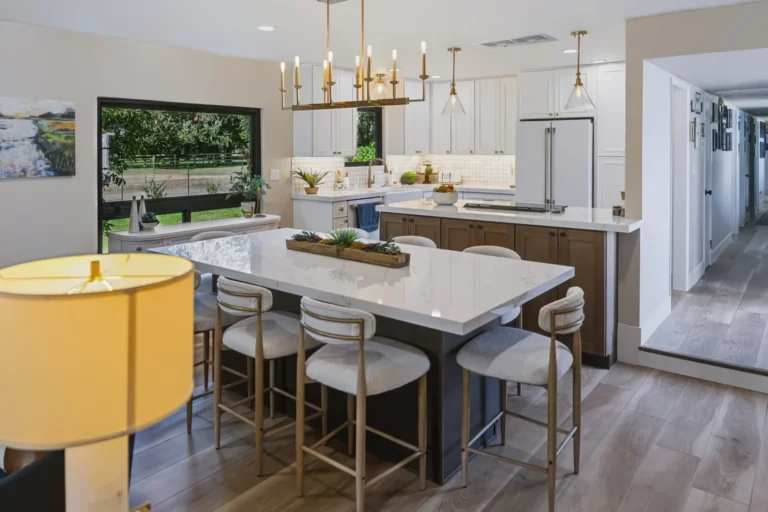
The kitchen is now open to the living room, with a wide pass-through and a window that sits at countertop height. It has modern lighting, upgraded electrical and new finishes throughout. All of it was permitted and inspected.
Why Sacramento Homeowners Choose Tenax for Kitchen Remodels
- One team from start to finish: design, permits, construction and final walkthrough
- Structural work in-house: wall openings, beams, window resizing and framing
- Detailed line-item estimates with no hidden costs
- Licensed and insured: CSLB License #1057033
- Local: serving Sacramento and the wider region from our Rocklin office
Want to see what a project like this costs? Check our financing options, including RenoFi and Acorn Finance.
Frequently Asked Questions
Can you remove a wall between a kitchen and living room in Sacramento?
Often, yes. Opening a wall usually means installing a structural header or beam and getting a building permit. Tenax prepares the plans, pulls the permits and coordinates the inspections with the City of Sacramento.
Do I need a permit for a kitchen remodel in Sacramento?
Most kitchen remodels that involve framing, plumbing, electrical or window changes need permits. Tenax handles the permit process, and the homeowner pays only the government fees.
Can a kitchen window be made smaller?
Yes. We reframe the opening to the new height, install a smaller window, seal it for weatherproofing, and patch and paint the exterior siding to match.
Why keep the sink and refrigerator in the same place?
Keeping major plumbing in place makes the remodel simpler and lets more of the budget go to cabinets, finishes and features.
See More Kitchen Remodels in the Sacramento Area
- Kitchen Remodel in Sacramento, CA: Open Layout, New Windows & Door
- Full Kitchen Remodel in Sacramento, CA
- Complete Kitchen Remodel in Sacramento: A Portfolio Case Study
- Expert Kitchen Remodel in Sacramento, CA
- Blanc & Noir: Modern Kitchen Remodel in Sacramento
- Expert Kitchen Remodel in Fair Oaks, CA
- Modern Kitchen Remodel in Antelope, CA
- Full Kitchen Remodel & Fireplace Conversion in Elk Grove, CA
Browse the full Kitchen Remodeling Portfolio or see our Complete Home Remodel projects.
Ready to Open Up Your Sacramento Kitchen?
If you’re thinking about removing a wall, changing a window or rebuilding your kitchen from the ground up, Tenax Construction can help. Call (916) 586-8845 or request your free estimate to get started.
Tenax Construction Inc. · 4205 Cincinnati Ave, Suite 300, Rocklin, CA 95765 · License #1057033