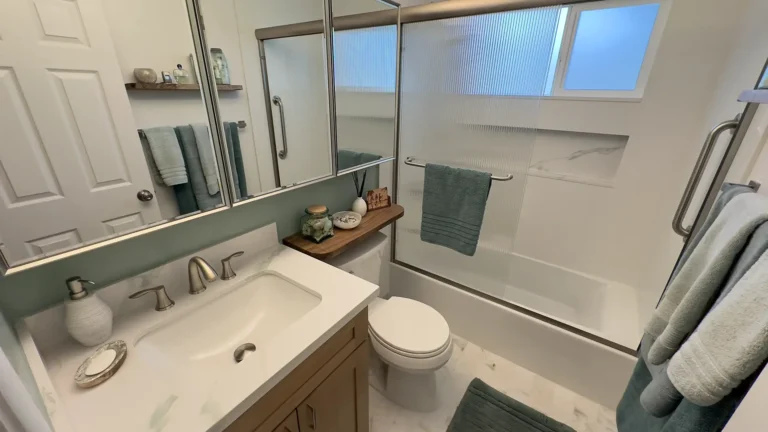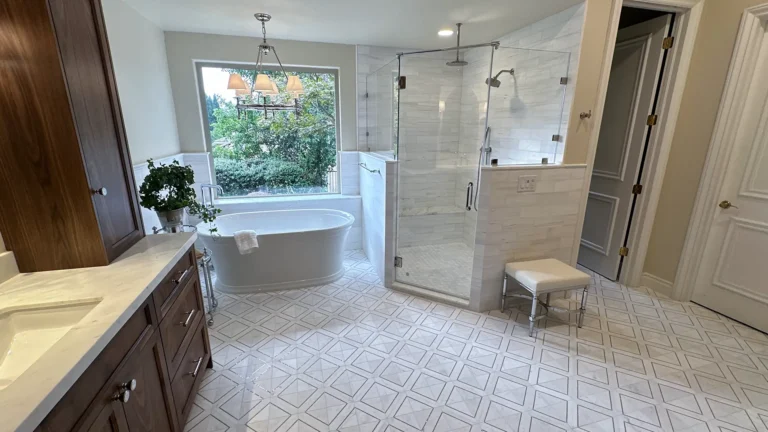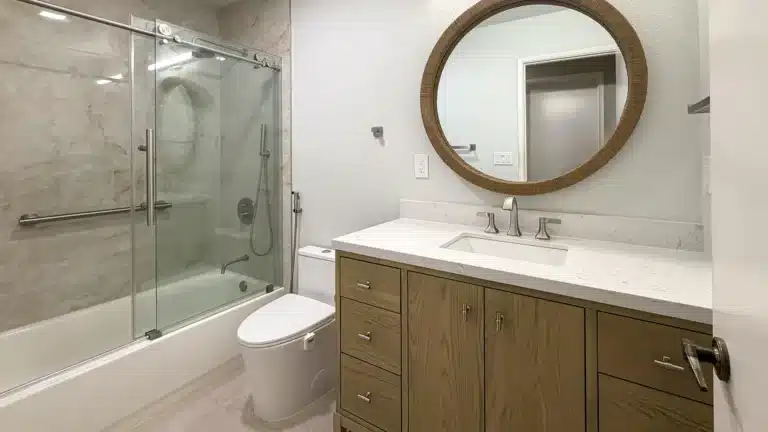
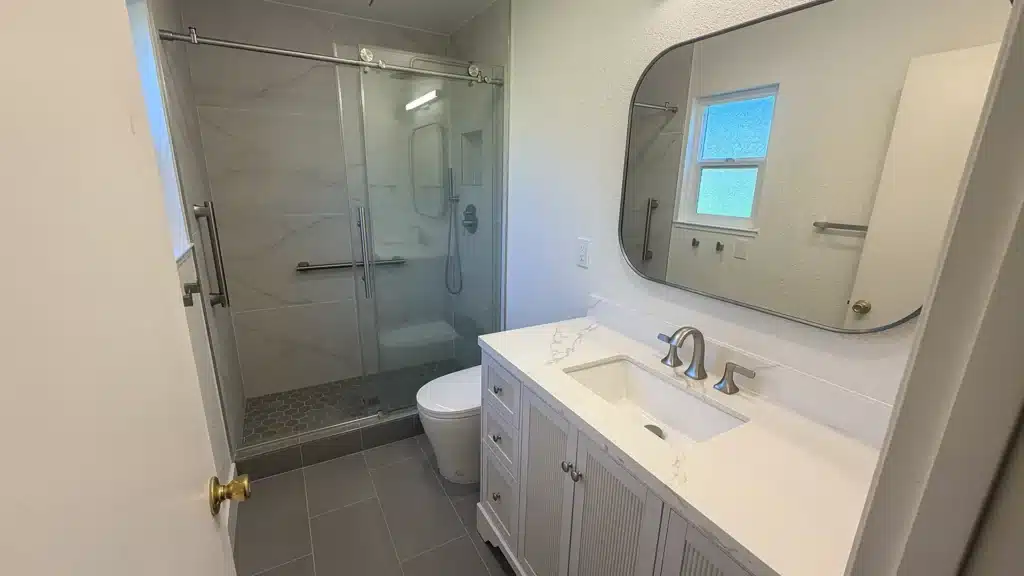
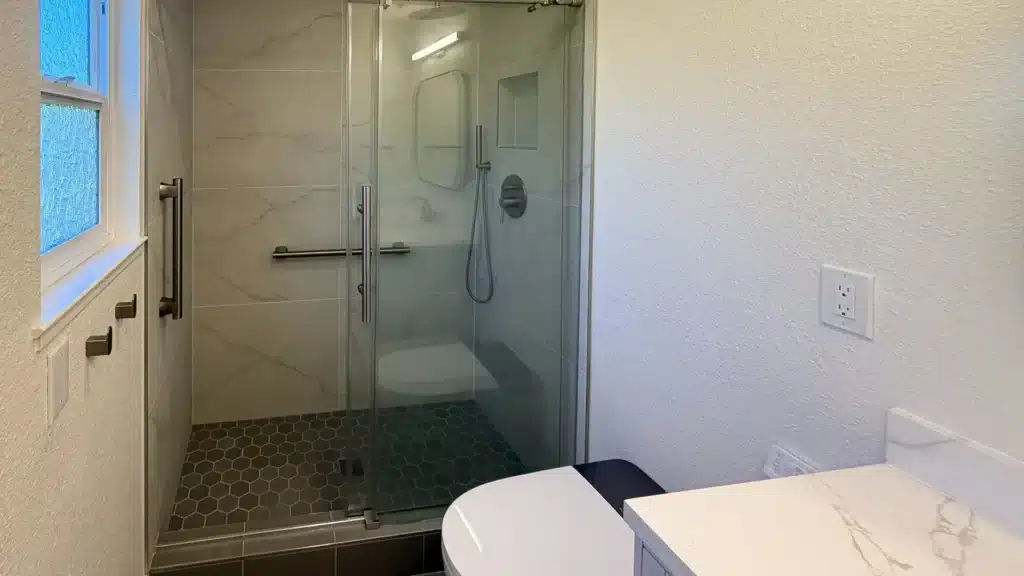
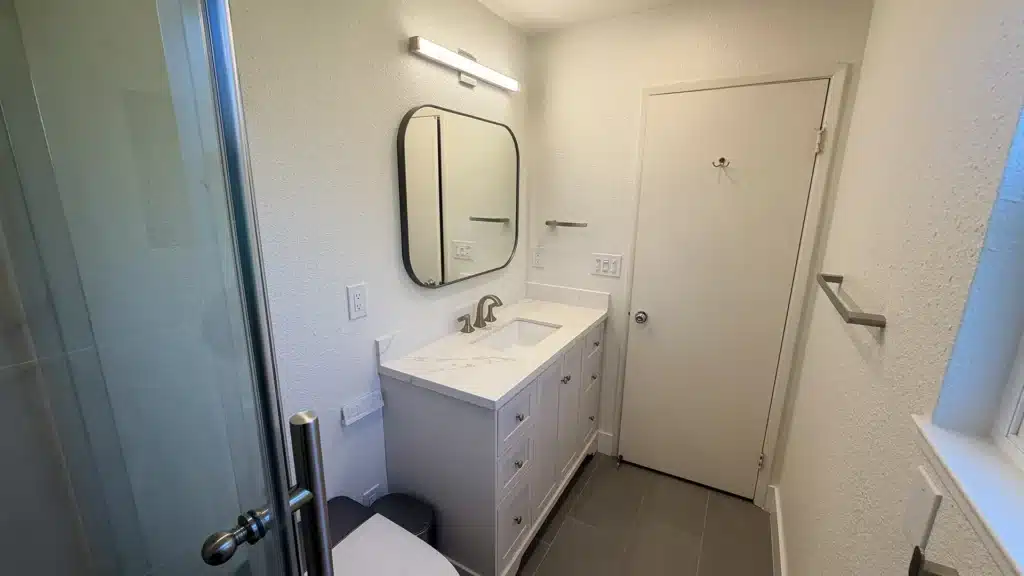
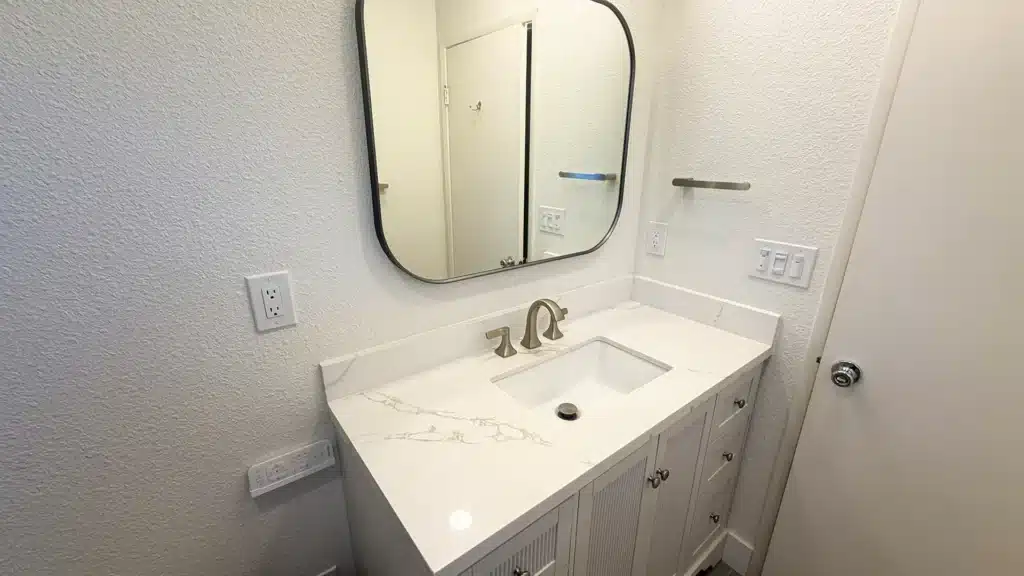
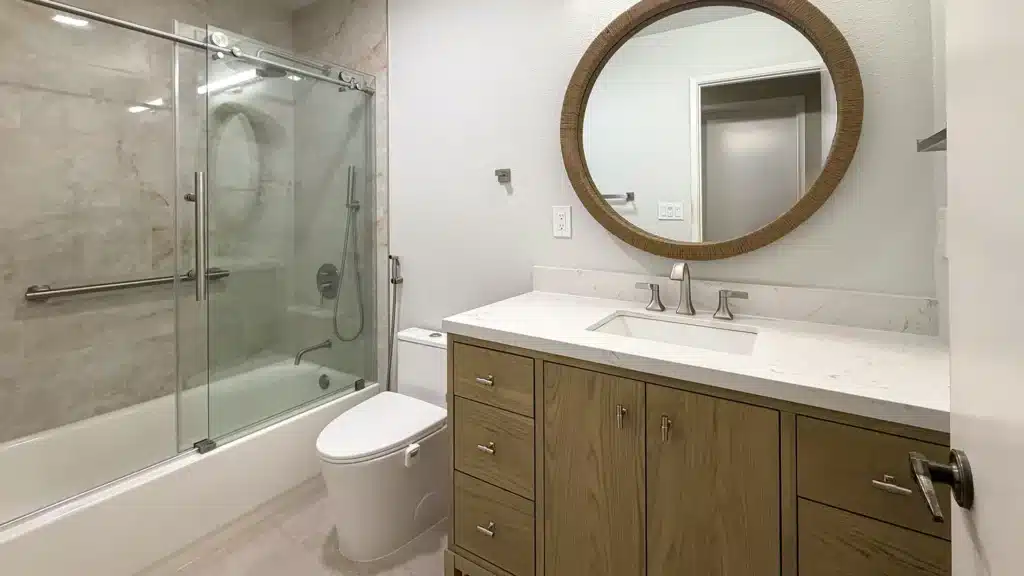
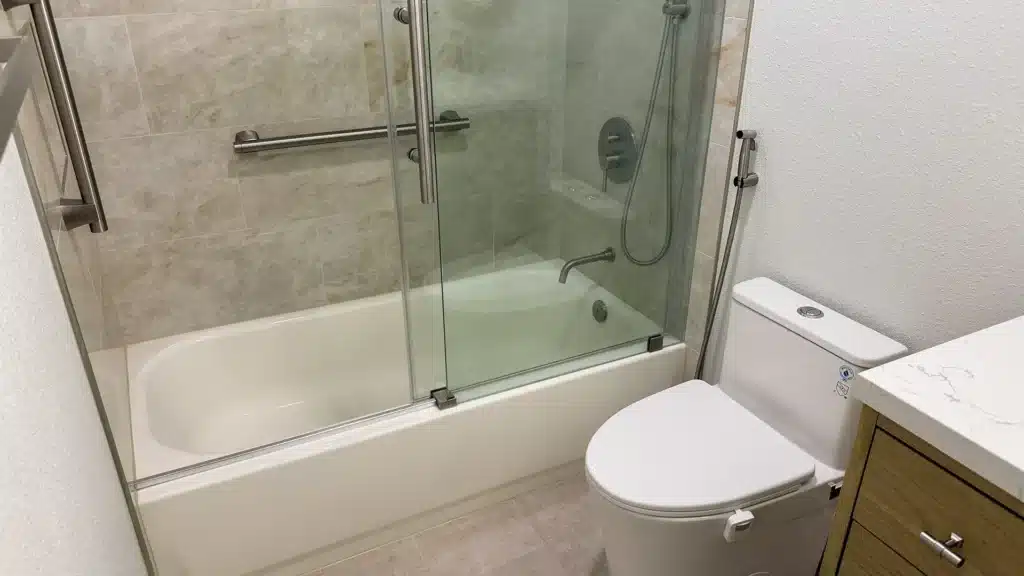
This portfolio project showcases a comprehensive two-bathroom remodel completed by Tenax Construction, covering both a hallway bathroom and a master bathroom in a single-family residence. Rather than a cosmetic refresh, this was a full gut renovation: every surface, fixture, and system was removed down to the studs and subfloor, then rebuilt with new plumbing rough-ins, upgraded electrical, waterproofed shower assemblies, porcelain tile, and ADA-compliant accessibility features.
The homeowners wanted two bathrooms that felt modern and cohesive, met current code, and were future-ready — including dedicated electrical provisions for smart toilets and bidet attachments. Tenax Construction managed the project end to end, from initial design consultation through permitting, inspections, and final walkthrough.
Project Preparation & Design
Every successful bathroom remodel starts before demolition. This phase included:
- Design development — collecting homeowner requirements, developing multiple design concepts, presenting options, and refining the final layout, finish selections, and detailing.
- Permit-ready construction documents — a complete plan set prepared for submission to the local building department.
- Permit acquisition — Tenax Construction handled all paperwork and coordinated directly with the building department to secure approvals.
- Inspection coordination — scheduling and on-site attendance for all required inspections, including rough plumbing, rough electrical, and final inspection.
Homeowners working with a licensed general contractor benefit from properly permitted work — which protects resale value, insurance coverage, and long-term safety.
Hallway Bathroom Remodel
Demolition
The hallway bathroom was fully stripped, with surface protection installed throughout adjacent living areas and daily debris handling and site cleanup. Removed items included:
- Baseboards and linoleum flooring
- Existing tile walls
- Exhaust fan
- Vanity, vanity lighting, and mirrors
- Shower enclosure
- Toilet
- Tub and shower faucet, vanity faucet
- Recessed medicine cabinet
Interior Surface Restoration
New drywall was cut, hung, and fastened where walls were opened for plumbing and electrical work. Joints were taped and textured to match the existing wall texture for a seamless transition into the surrounding hallway. Walls and ceiling were then prepped — sanding, masking, and priming — and finished with new paint, along with newly painted baseboard.
Vanity Installation
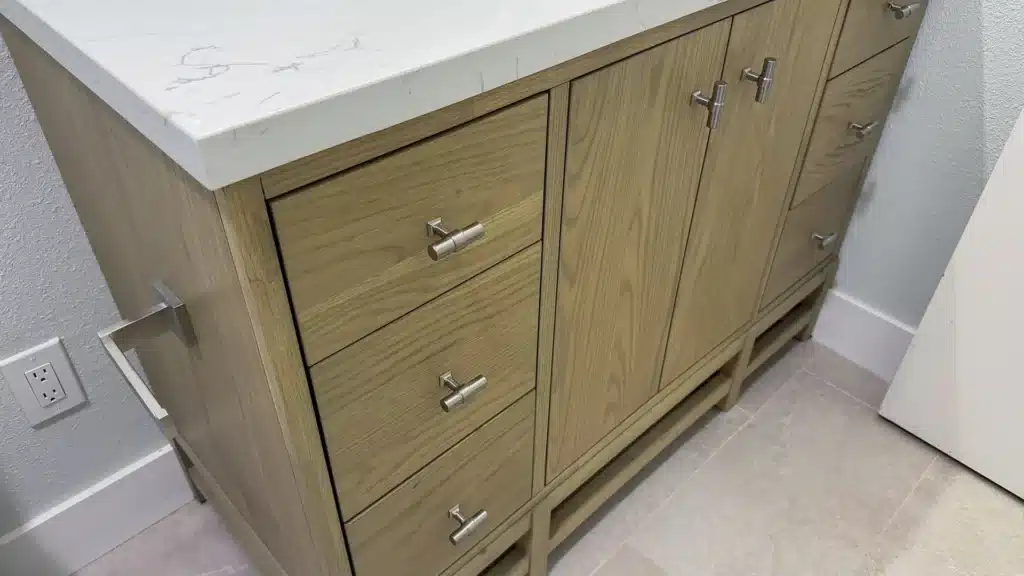
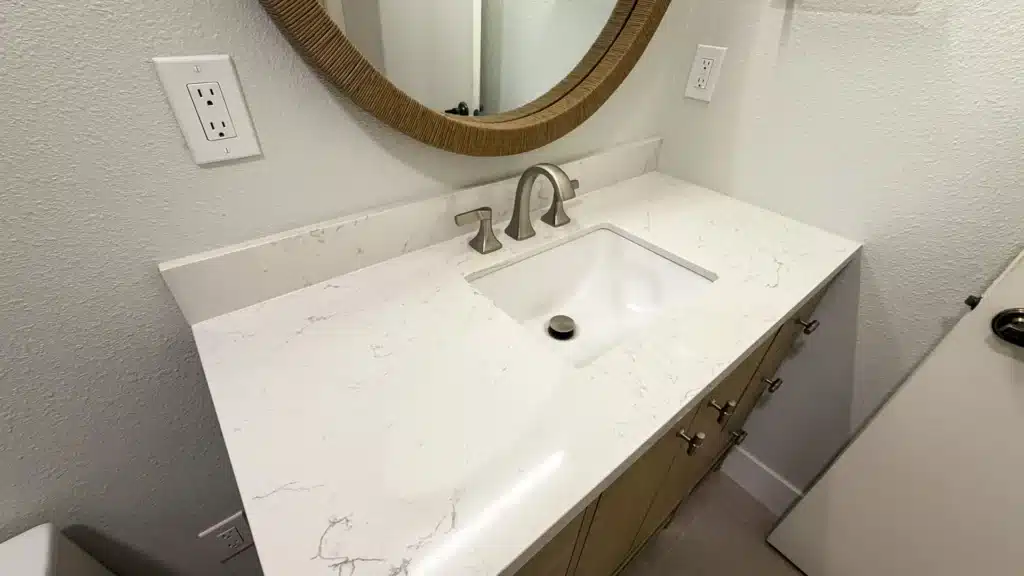
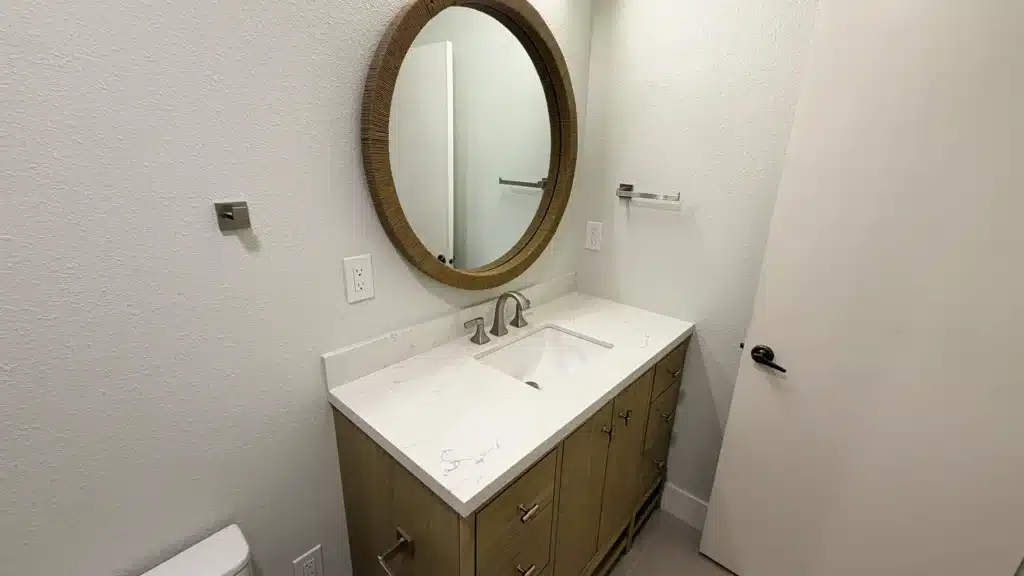
A pre-assembled free-standing vanity was set, leveled, and secured to the wall framing, with the homeowner-supplied vanity backsplash installed as part of the vanity kit.
Plumbing
Work included rough-in plumbing — water supply lines and DWV (drain, waste, vent) piping installed per plan and code — including relocation of existing lines to accommodate the revised fixture layout.
Finish plumbing covered:
- Setting the toilet, tub, shower head, and faucets
- Connecting water supply lines
- Installing trim kits
- Final testing and adjustment
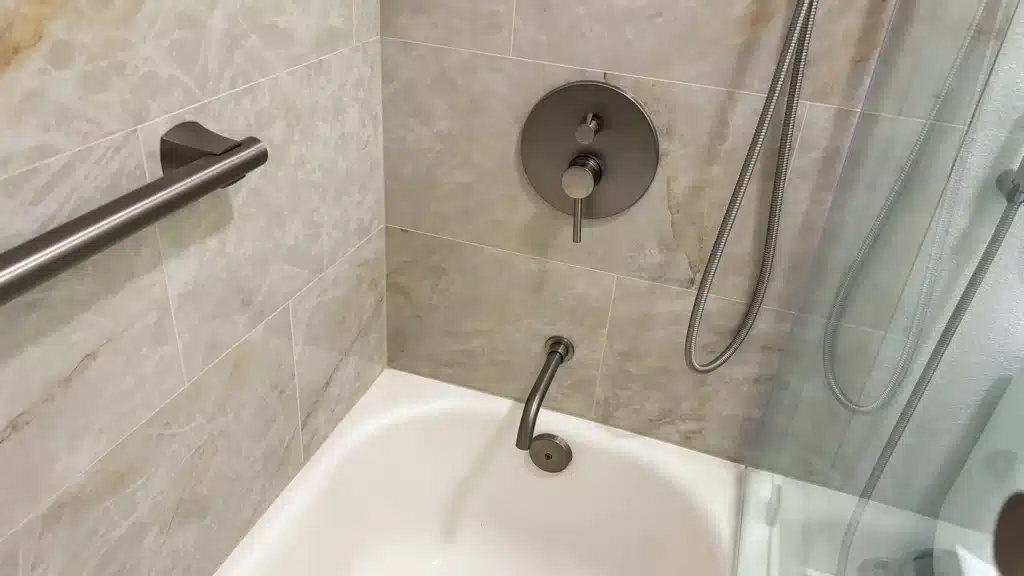
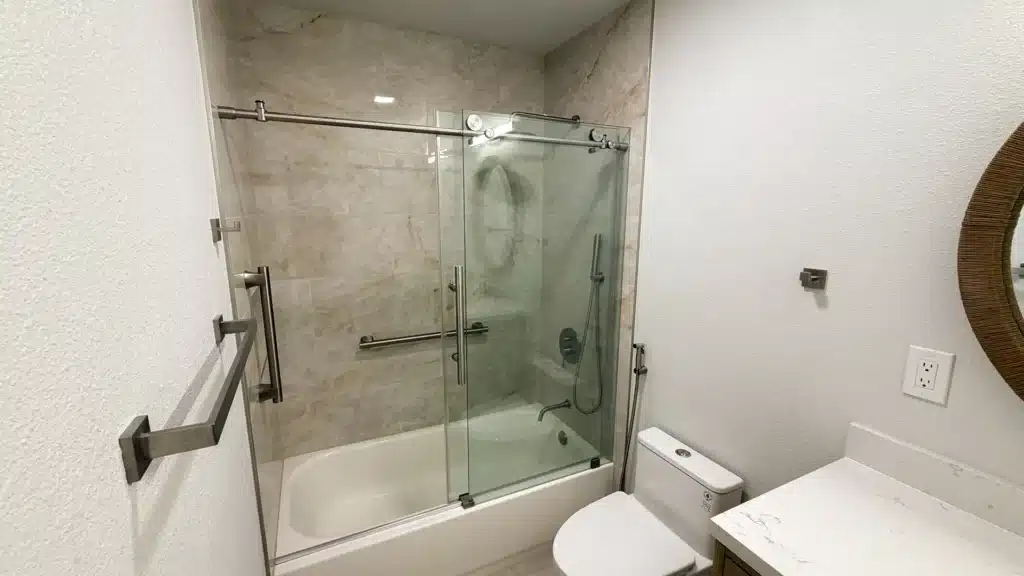
Additional upgrades included installation of a spray-handle bidet and relocation and replacement of water angle valves as needed to serve a future smart toilet. Fixtures included a single-handle tub and shower faucet with valve and a high-efficiency 1-piece 1.28 GPF elongated toilet.
Electrical
Electrical rough-in included pulling wire, setting boxes, running conduit, and connecting circuits for outlets, switches, and lighting. Specific upgrades:
- Relocated the existing outlet to a more usable position along the same wall, per code
- Added a new outlet to the left of the vanity
- Added a second outlet between the vanity and toilet as a code-compliant provision for a future smart toilet
- Installed a new ceiling exhaust fan/light combo unit replacing the original fan-only unit
- Installed a new vanity light with a new switch where the existing switch could not be reused
Proper GFCI outlet placement and dedicated bathroom ventilation are two of the most common code deficiencies in older bathrooms — both were corrected here.
Shower & Tub Enclosure
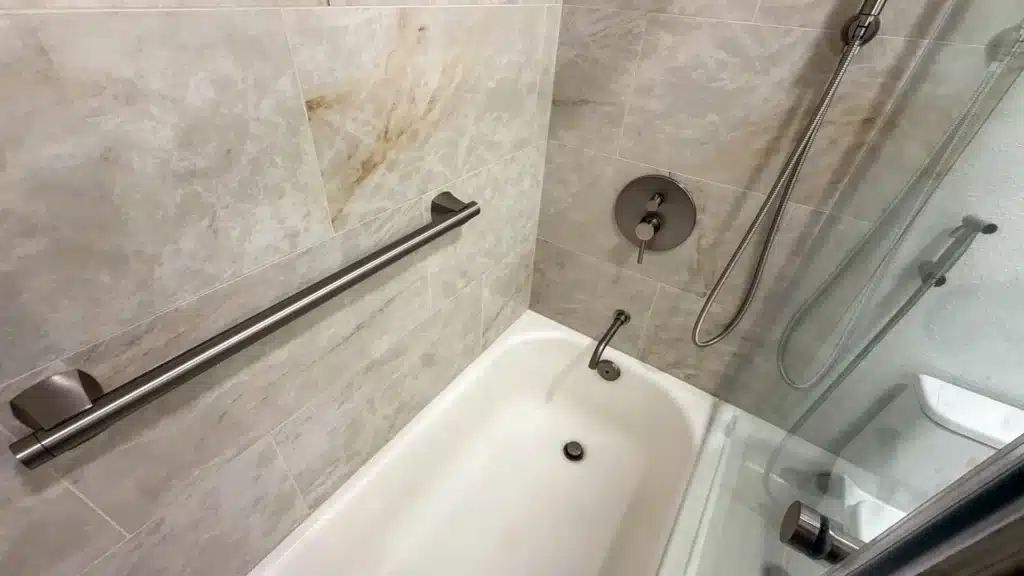
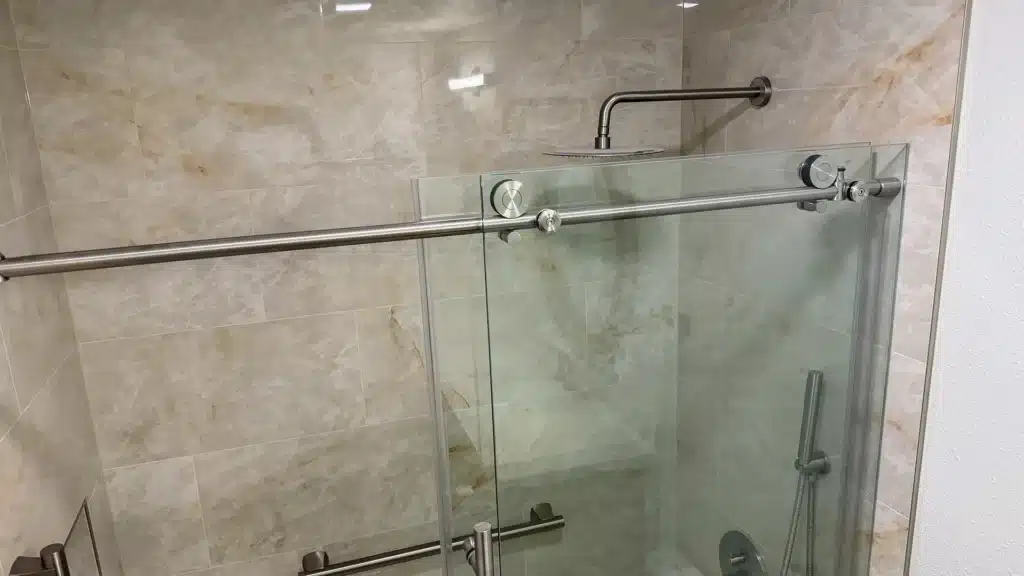
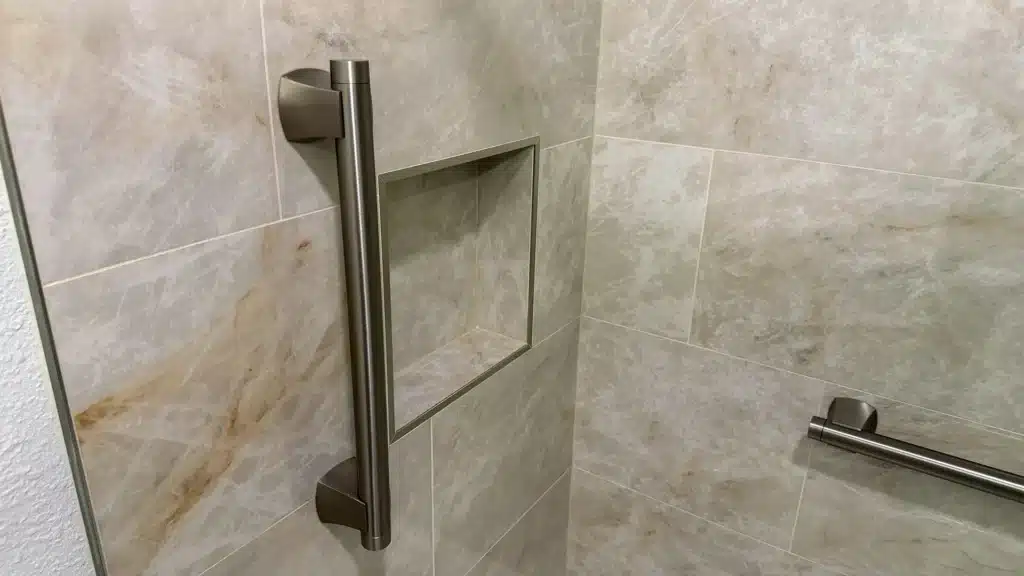
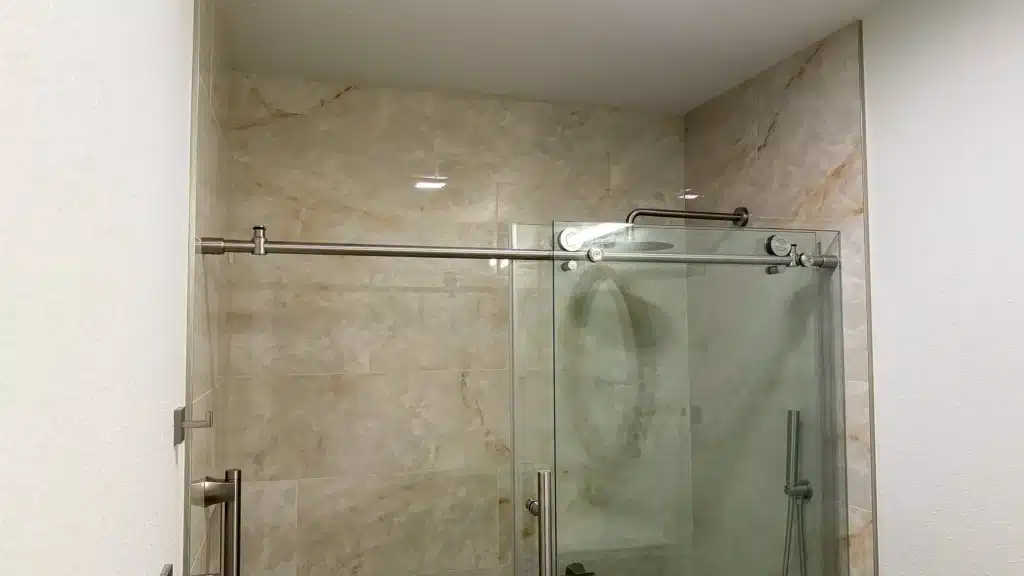
Tub and shower walls (approximately 75–80 square feet) were prepared with rough waterproofing materials, then finished with porcelain tile installed to the ceiling for a taller, more contemporary look. A recessed shampoo niche was framed and tiled into the shower wall.
A frameless glass shower door with side panel (glass thickness greater than 1/4″) was installed — placed, leveled, anchored, sealed, and adjusted for smooth operation. A white acrylic rectangular drop-in bathtub completed the enclosure.
Flooring & Baseboard
The existing subfloor was repaired, ground, and leveled to create a flat substrate — a critical step for preventing cracked tile and failed grout joints. New porcelain floor tile was installed using a standard layout with precise cutting, setting, and spacing. Prism Ultimate Performance Cement grout was used for all tile work.
New 5 1/2″ standard-profile baseboard was installed and painted to match the room.
Finish & Accessibility
- Two stainless steel ADA-compliant concealed-screw grab bars (24″ x 1-1/4″) installed in vertical and horizontal orientations, with in-wall blocking reinforcement behind the shower wall for code-compliant load capacity
- 6-piece wall-mount stainless steel bathroom accessory set
- Mirror installed at a placement confirmed with the homeowner
Master Bathroom Remodel
Demolition
The master bathroom received an equally complete teardown:
- Exhaust fan and recessed can ceiling light
- Outlet and switch
- Vanity, vanity lights, and mirror
- Medicine cabinet
- Toilet
- Baseboard and flooring
- Tile walls
- Shower pan and full shower enclosure
Removing and rebuilding the shower pan allowed for a fully new waterproofing assembly — the single most important detail in preventing long-term water damage and subfloor rot.
Interior Surface Restoration
Drywall was replaced where required, then taped and textured to match existing. All walls and ceiling were prepped and painted, along with new baseboard.
Vanity Installation
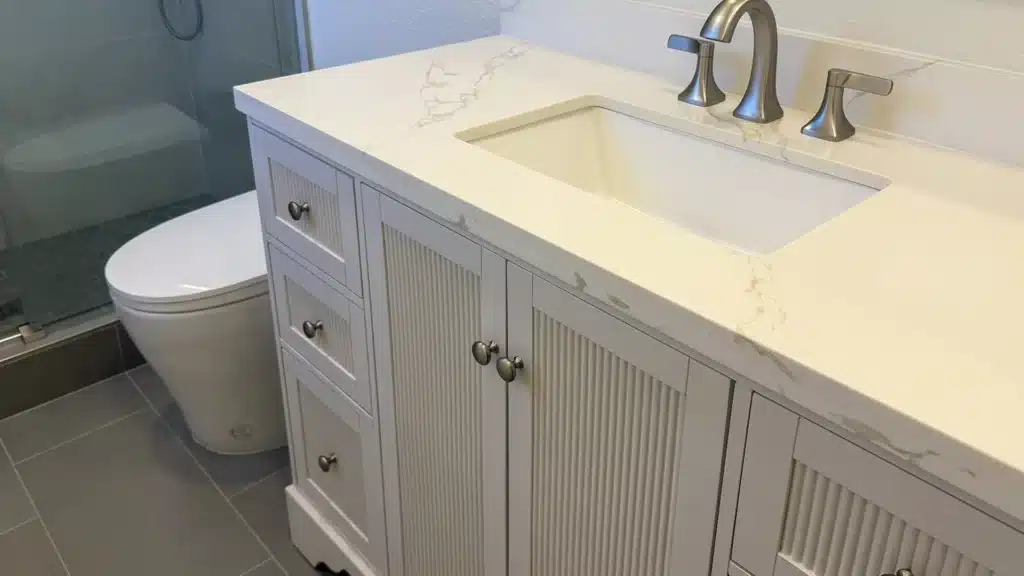
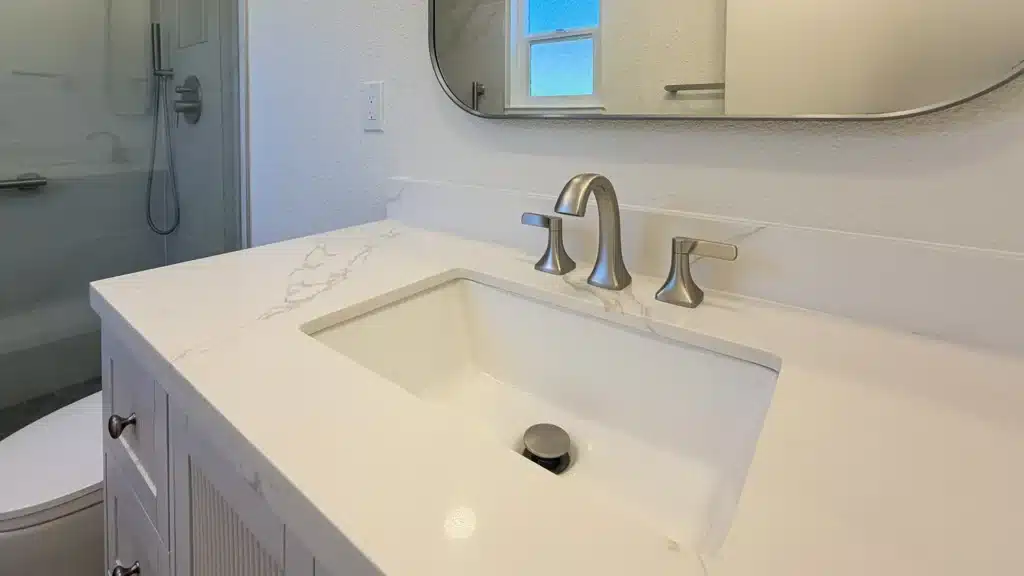
A pre-assembled free-standing vanity was leveled and secured to the wall, with the homeowner-provided backsplash installed.
Plumbing
Rough-in plumbing included new supply lines and DWV piping, with line relocation to support the updated layout. Finish plumbing covered setting the toilet, vanity faucet, and shower faucet, connecting supplies, installing trim kits, and final testing.
As in the hallway bath, a spray-handle bidet was installed and angle valves were replaced and relocated as a provision for a smart toilet. Fixtures included a single-handle shower faucet with valve and a 1-piece 1.28 GPF high-efficiency elongated toilet.
Electrical
Electrical rough-in supported a fully reconfigured lighting and outlet plan:
- Relocated the existing outlet to a more functional location along the same wall
- Added a new outlet to the left of the vanity surface
- Added a second outlet between vanity and toilet as a future smart toilet provision
- New switch installation as required
- New surface-mount ceiling light fixture
- New vanity light
- New exhaust fan for proper moisture control
Shower Enclosure
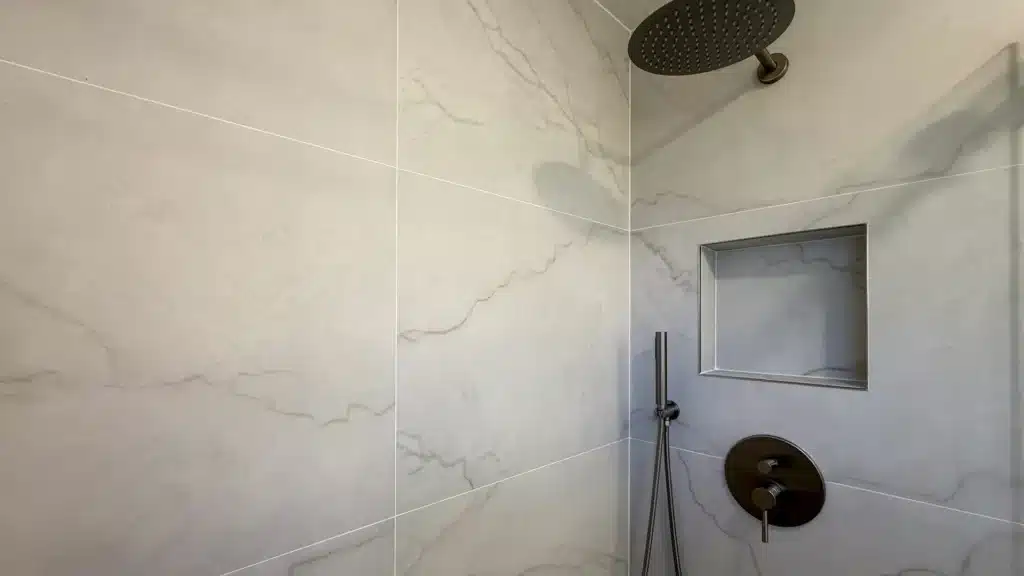
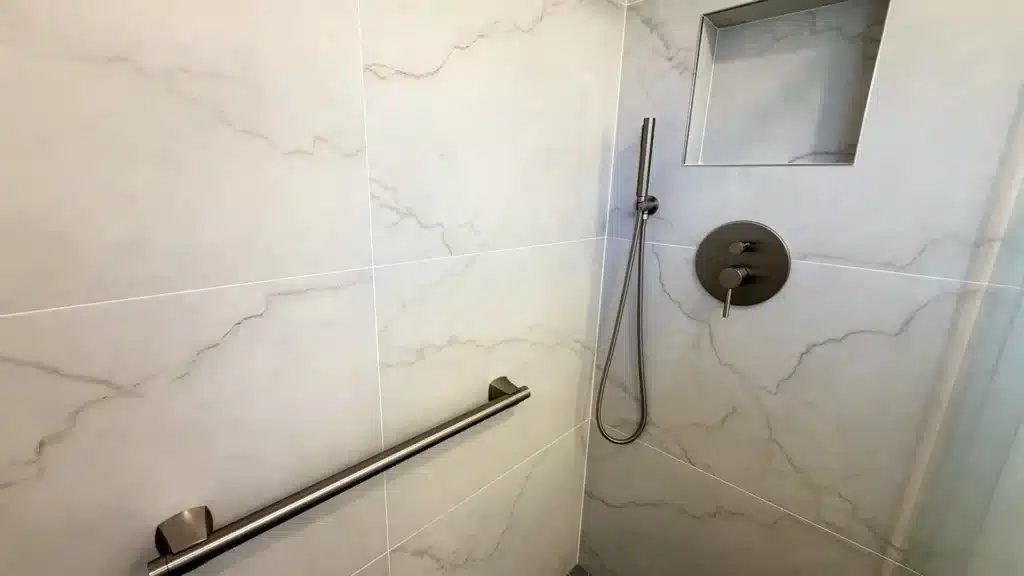
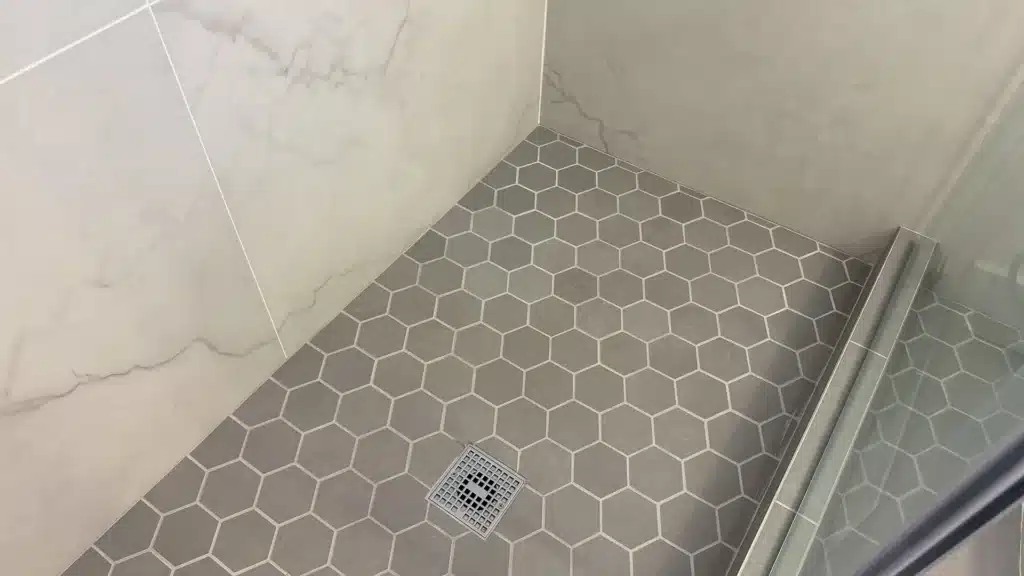
Shower walls and the new shower pan were prepared with rough waterproofing materials. Porcelain tile was installed on all three shower walls from floor to ceiling, with a recessed niche for shampoo and toiletries.
The shower pan was tiled with careful cutting, setting, and spacing for correct slope and drainage alignment. A frameless glass shower door with side panel (glass thickness greater than 1/4″) completed the enclosure.
Flooring & Baseboard
Subfloor repair, grinding, and leveling preceded installation of new porcelain floor tile. Prism Ultimate Performance Cement grout was used across all floor and shower wall tile for durability and stain resistance. New 5 1/2″ standard-profile baseboard was installed to match the hallway bathroom.
Finish & Accessibility
- Two ADA-compliant concealed-screw stainless steel grab bars (24″ x 1-1/4″), vertical and horizontal, with code-compliant shower wall reinforcement
- 6-piece stainless steel wall-mount accessory set
- Mirror installed at homeowner-confirmed placement
Why This Project Matters
This remodel is a strong example of what a whole-bathroom renovation should include when done correctly:
Code compliance from the ground up. Permits pulled, inspections passed, outlets placed per code, ventilation installed, and grab bar blocking built into the framing rather than added as an afterthought.
Waterproofing done right. New shower pan assembly, proper wall preparation, Schluter trims, and high-performance cement grout — the details that determine whether a shower lasts five years or twenty-five.
Aging-in-place readiness. ADA-compliant grab bars in both bathrooms, bidet installations, and level, slip-conscious tile flooring make these bathrooms safer and more accessible for the long term.
Future-proofed infrastructure. Dedicated, code-compliant outlets and relocated angle valves in both bathrooms mean smart toilets can be added later without opening walls again.
Design consistency across both bathrooms. Matching baseboard profiles, porcelain tile, stainless accessories, and frameless glass enclosures create a unified aesthetic throughout the home.
Ready to Remodel Your Bathroom?
Tenax Construction handles complete bathroom remodels from design and permitting through demolition, plumbing, electrical, tile, and final finish work — with one licensed general contractor accountable for the entire project. Whether you are updating a single hallway bath or renovating multiple bathrooms at once, we manage the schedule, the subcontractors, the inspections, and the details.
Contact Tenax Construction today for a bathroom remodel consultation and estimate.