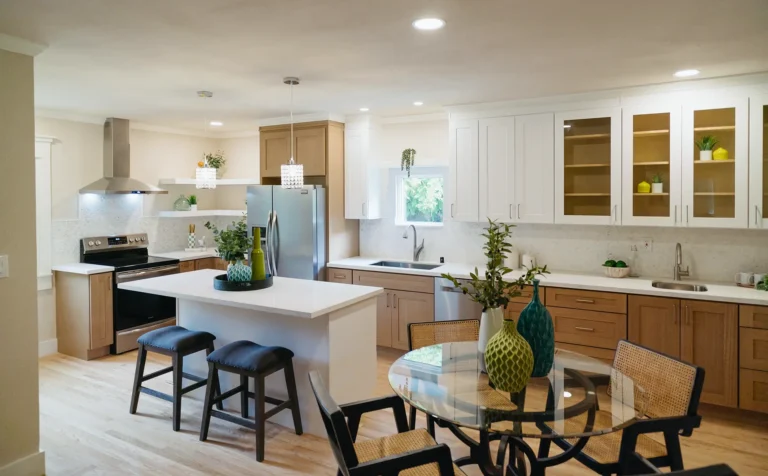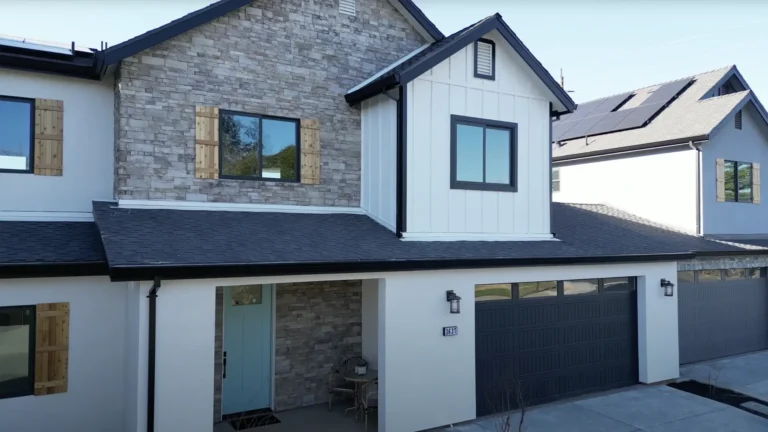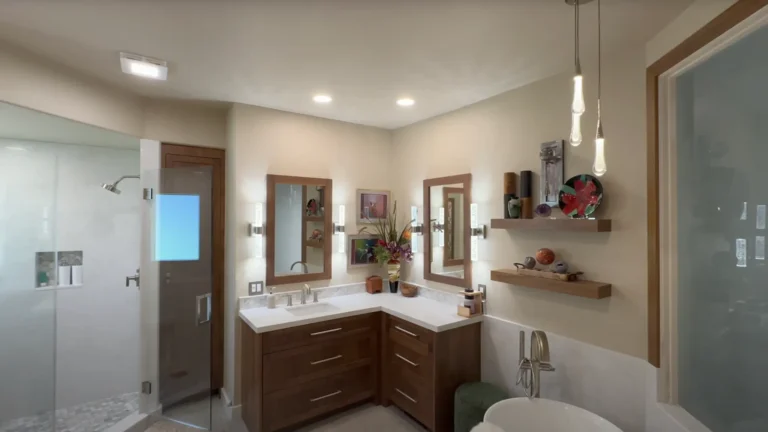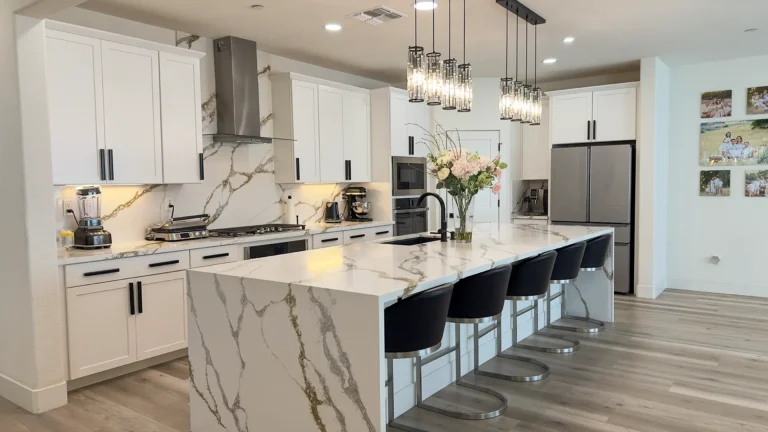
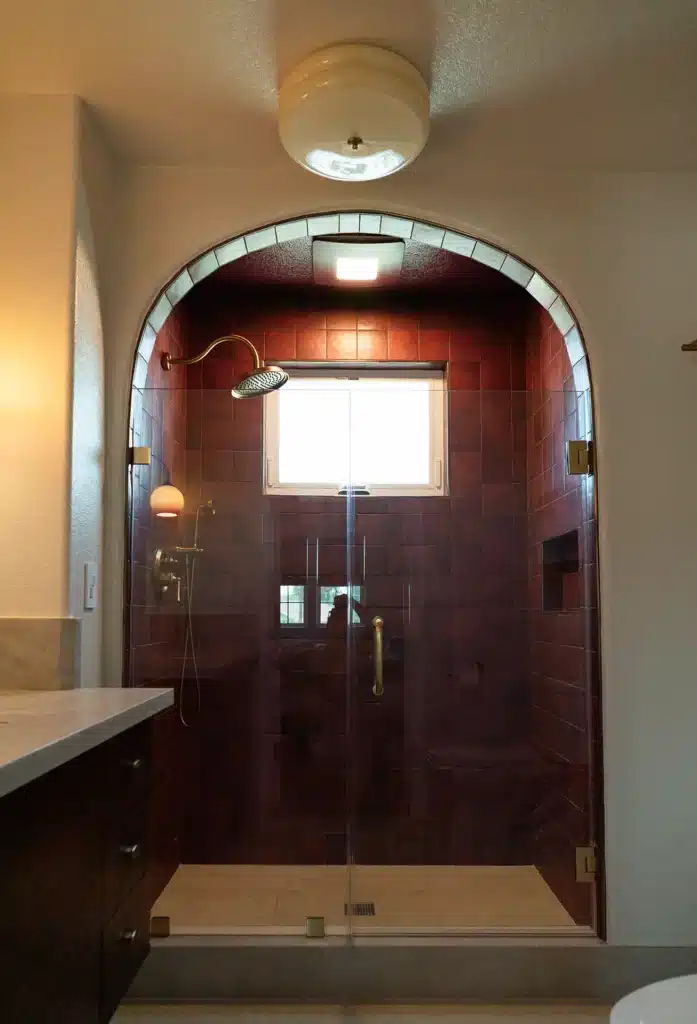
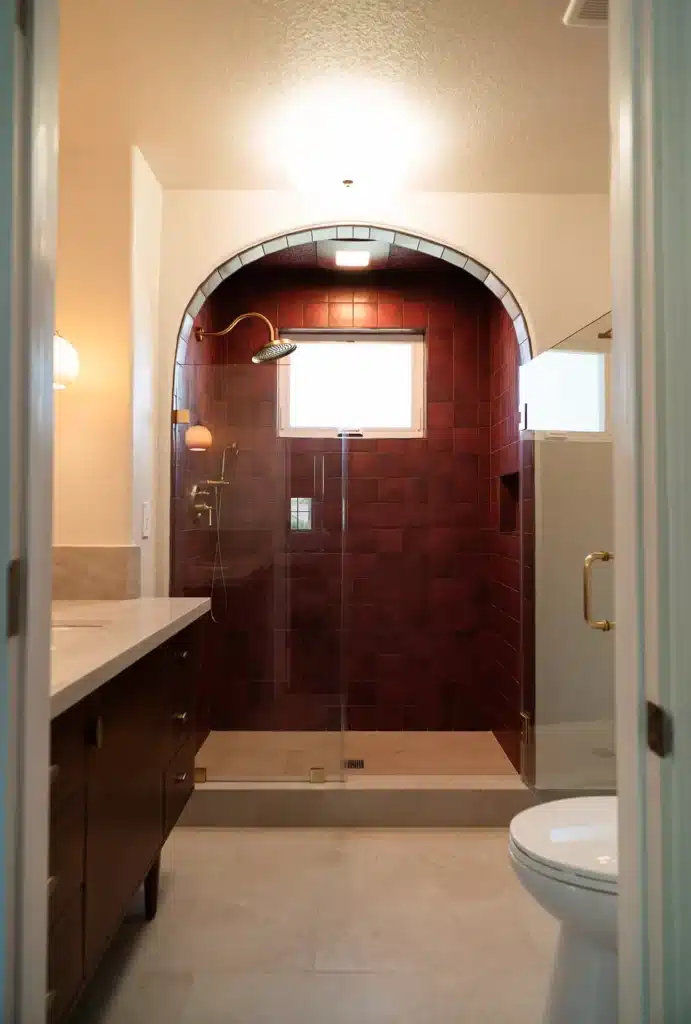
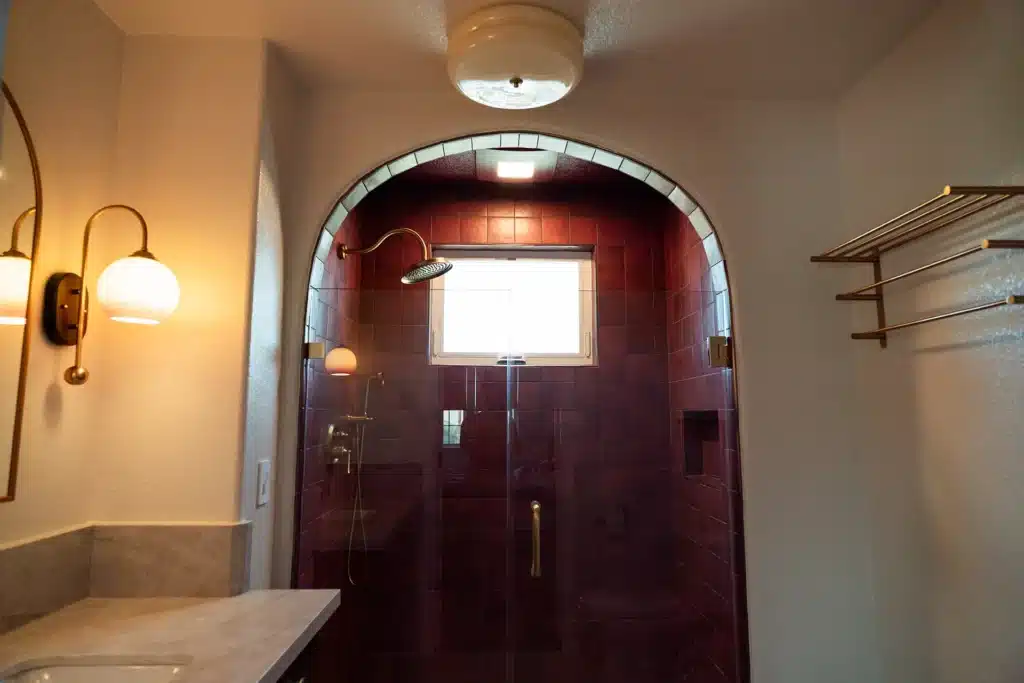
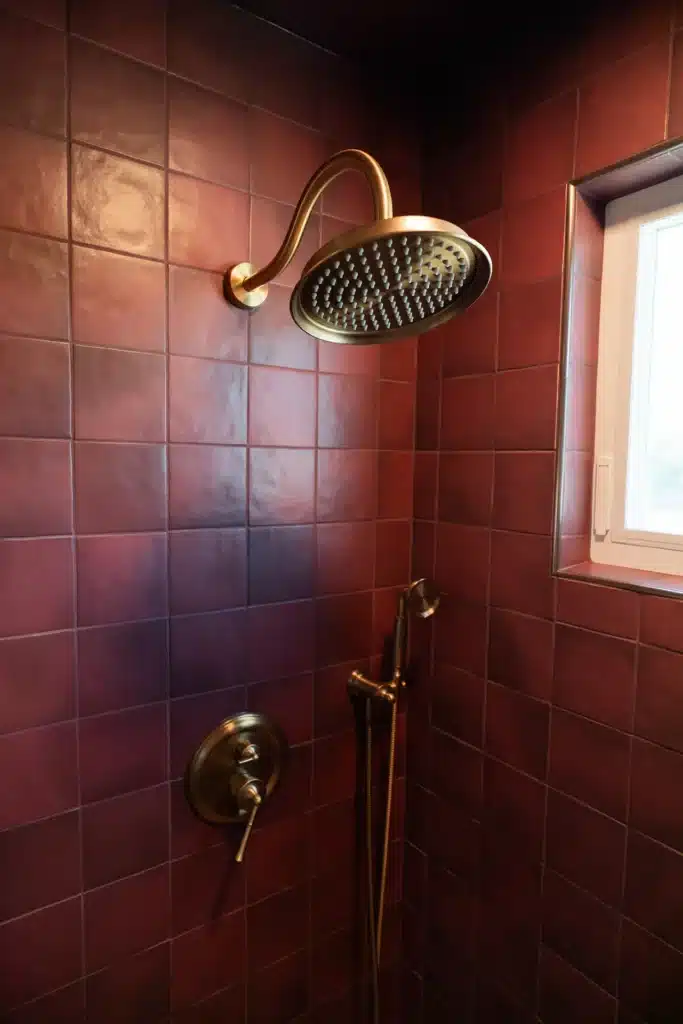
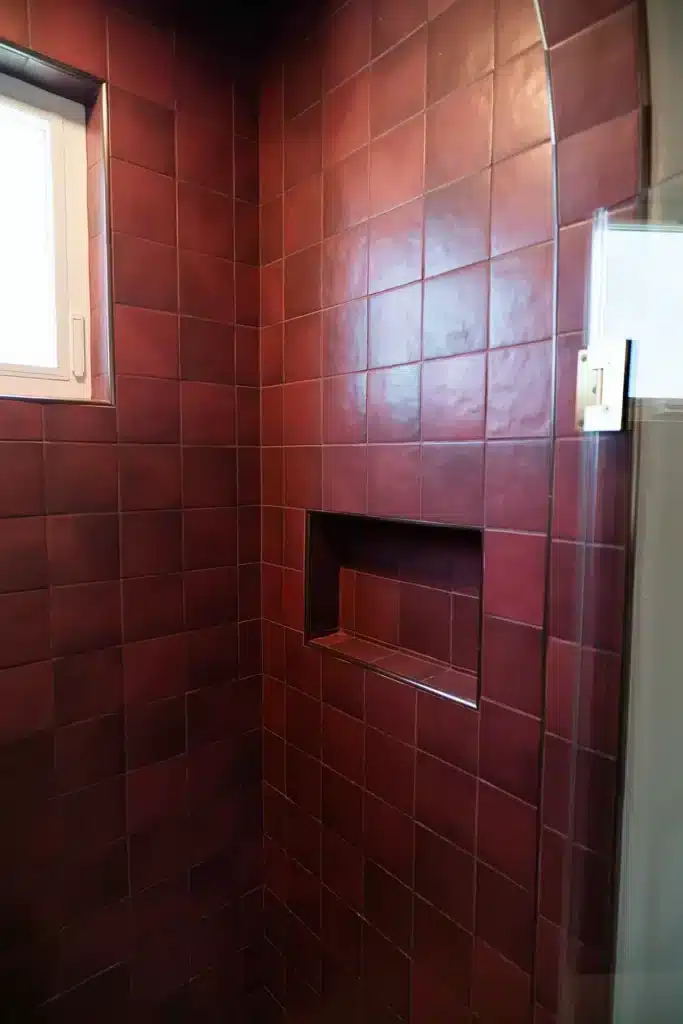
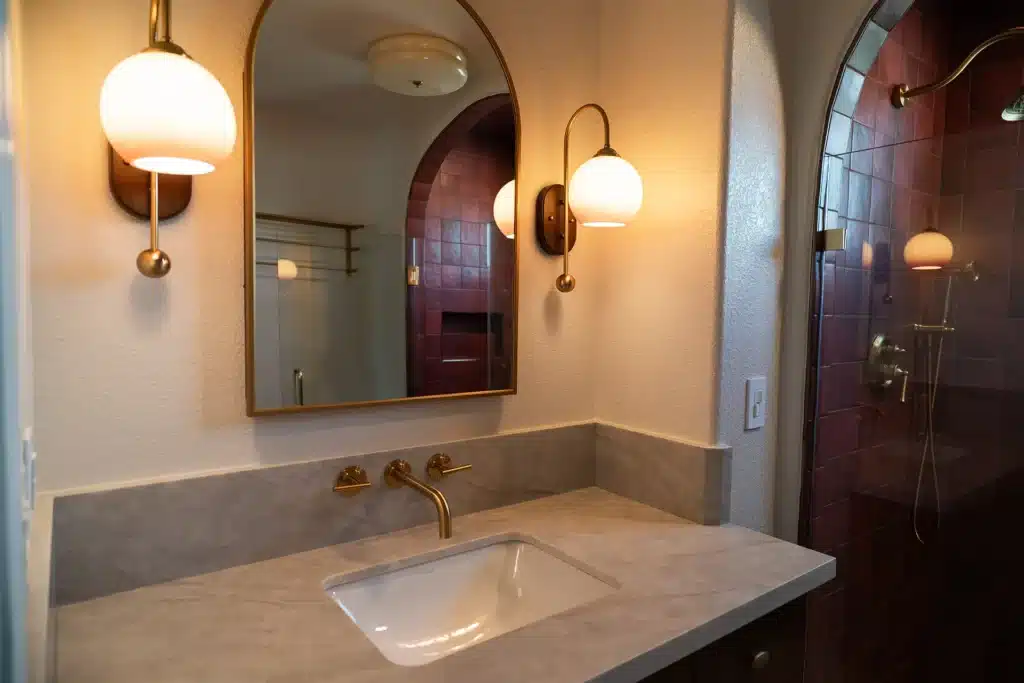
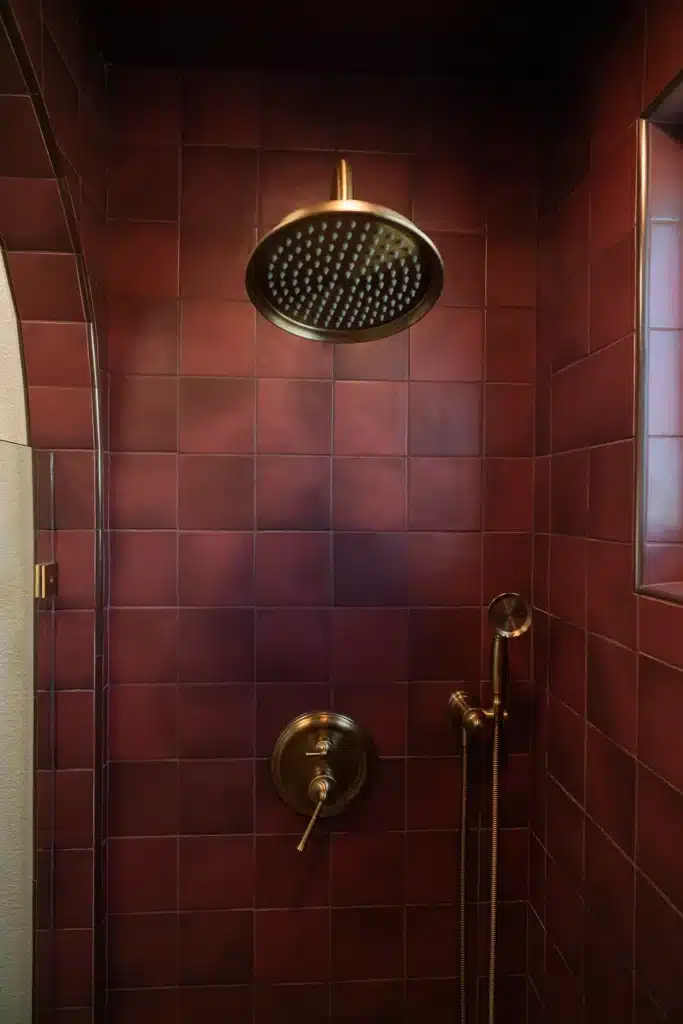
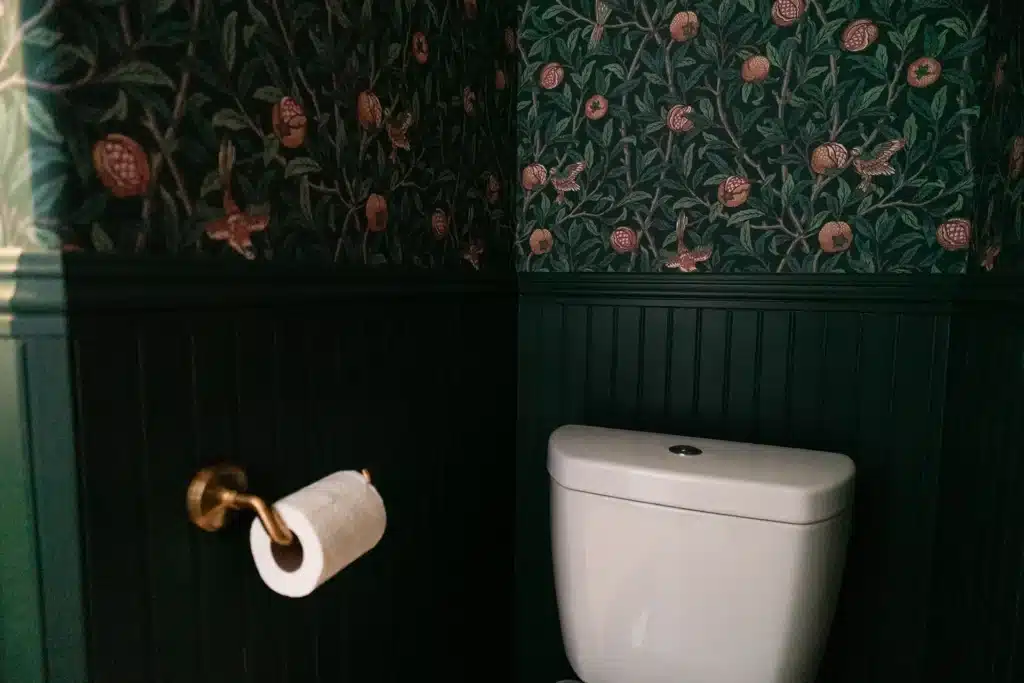
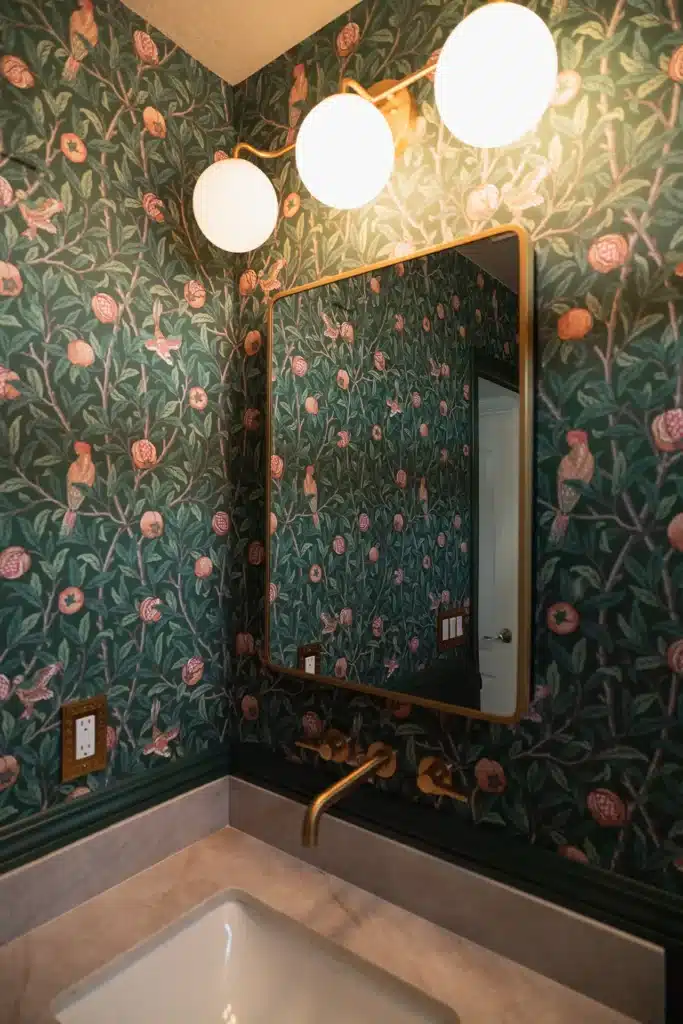
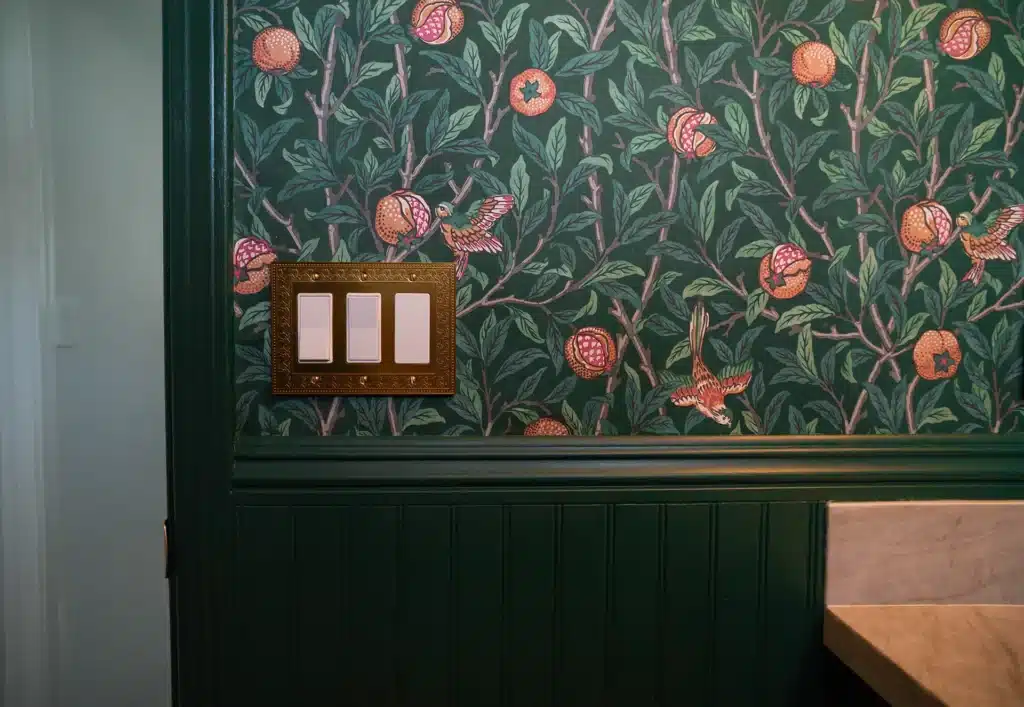
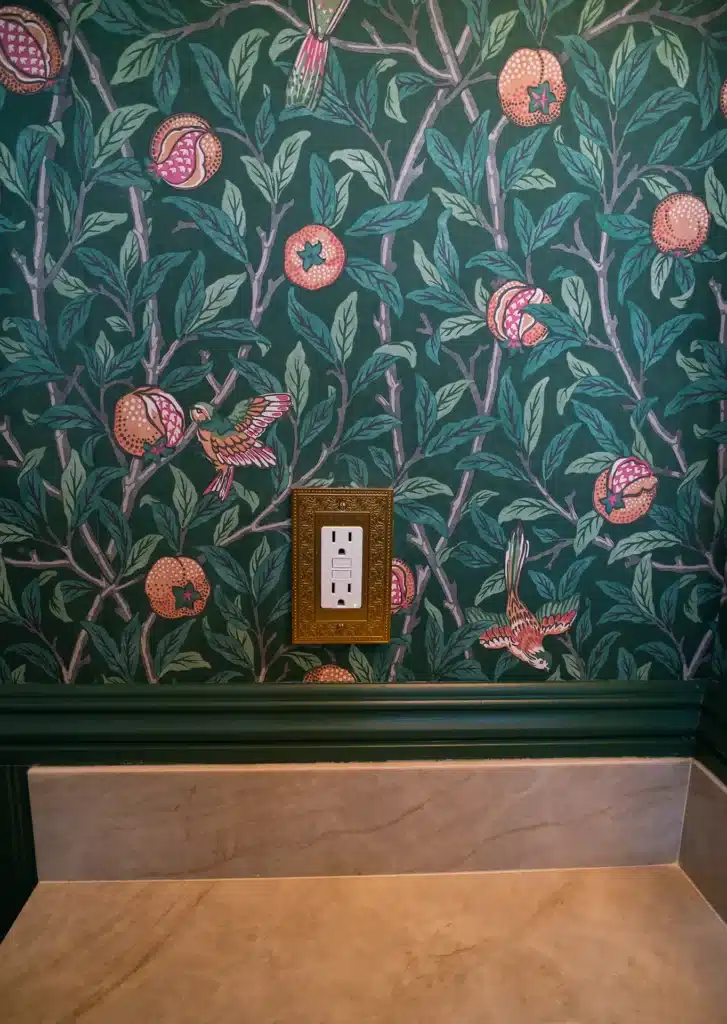
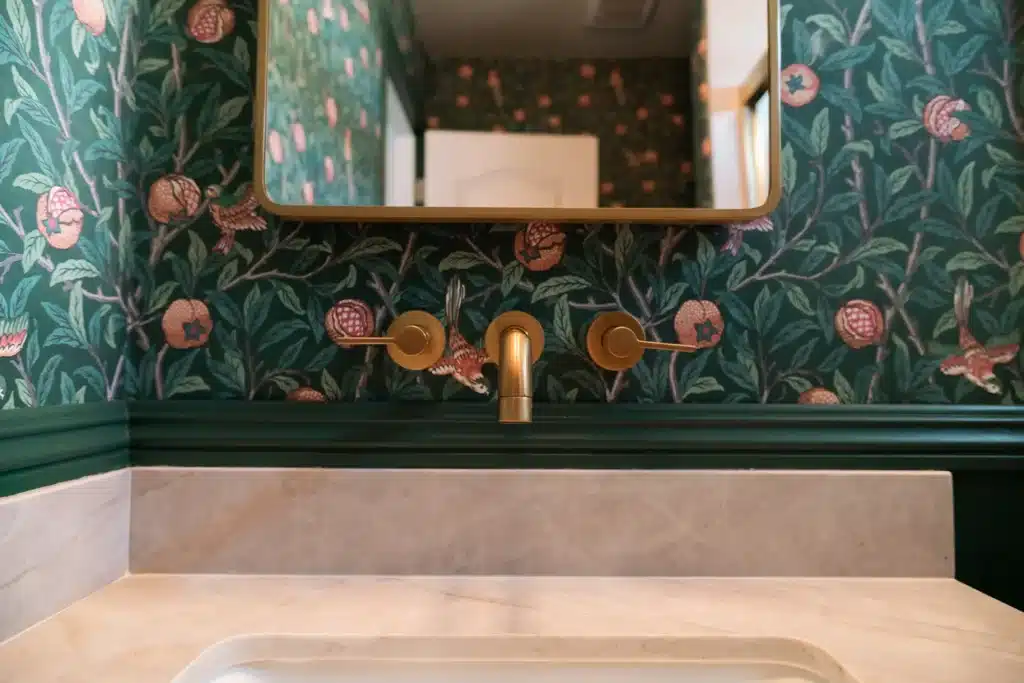
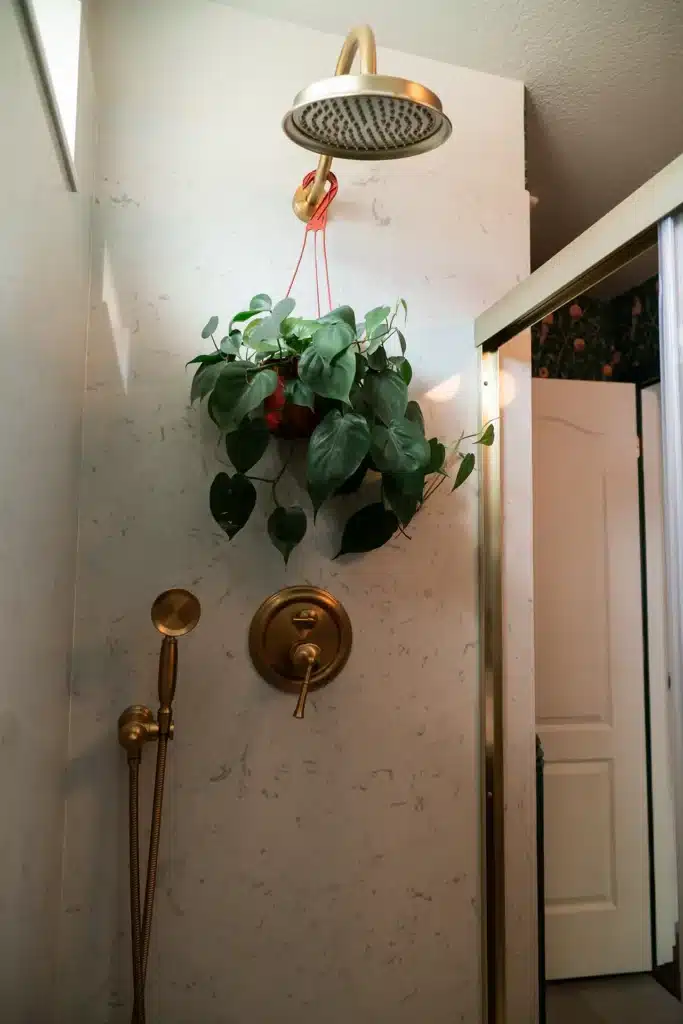
Tenax Construction Inc. recently completed a two-bathroom renovation that reworked both the master bathroom and the hallway (guest) bathroom of a single-family home. Two tub-to-shower conversions, a partial wall rebuild between the two rooms, a new exterior window, a custom arched shower entry, and full plumbing and electrical rough-ins — all managed under one permit set and one project schedule.
Here’s exactly what went into it.
Master Bathroom Remodel
Design & permitting
The project started at the drawing board. Our design team collected the homeowner’s requirements, developed and presented concepts, then refined the layout and finish details into a final design. From there we produced a permit-ready plan set, completed the paperwork with the building department, pulled the permits, and scheduled and attended every required inspection.
Note: government fees are paid by the homeowner and are not part of our scope. Structural and engineering plans are excluded.
Demolition
Full surface protection went down before any work began. Our crew demolished and hauled out:
- The shared wall between the two bathrooms (partial removal — this scope lives entirely in the master bathroom portion of the project)
- The existing vanity, vanity light, and mirror
- The tub
- The toilet
- All wall tile and floor tile
Debris was handled and the site cleaned at the end of every workday.
Framing
New structural wood framing was laid out, cut, and installed per plan — studs, headers, and blocking included. Two framing highlights here:
- A new partial wall between the master and hallway bathrooms, rebuilt to suit the new layout
- A custom arched shower entry, framed from scratch and later wrapped in tile — the signature architectural detail of this remodel
New window
The master bath gained natural light with a new 35″ x 34″ window. We set and secured the frame, shimmed it into alignment, and insulated and sealed the perimeter for weatherproofing. On the exterior, we installed lath and applied scratch, brown, and finish stucco coats to patch around the new opening, then painted the new stucco to blend with the existing color. (Color is matched as closely as possible; exact matches on weathered stucco are never guaranteed.)
Drywall, texture & paint
New walls were drywalled from both sides, and everything disturbed by demolition was patched. We taped and textured to match the home’s existing texture, then prepped, sanded, masked, primed, and painted the entire bathroom in up to two colors.
Vanity
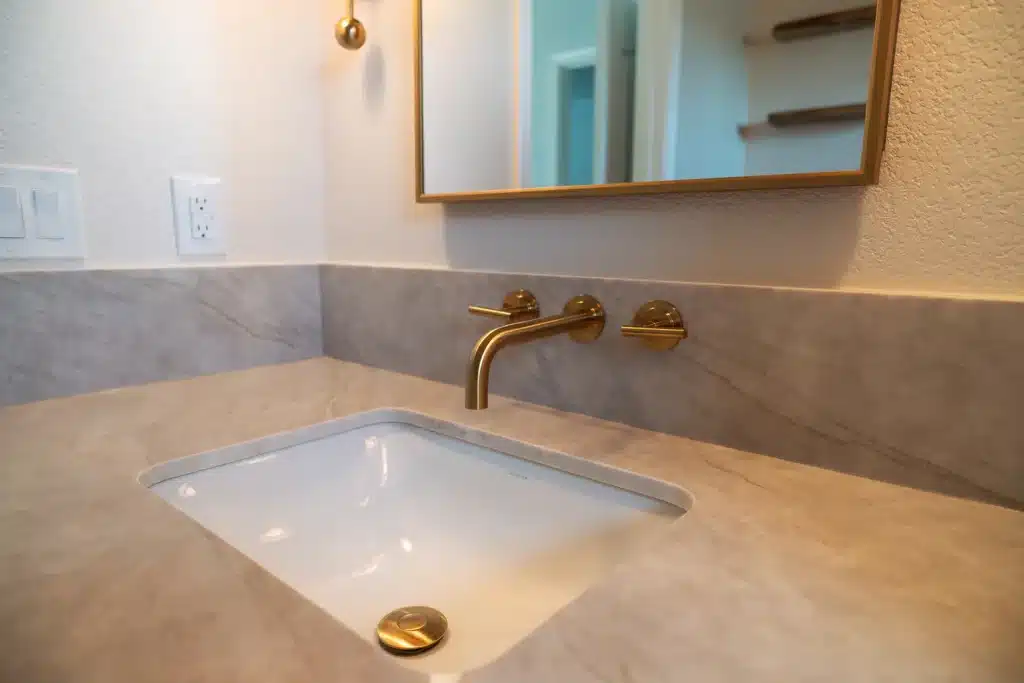
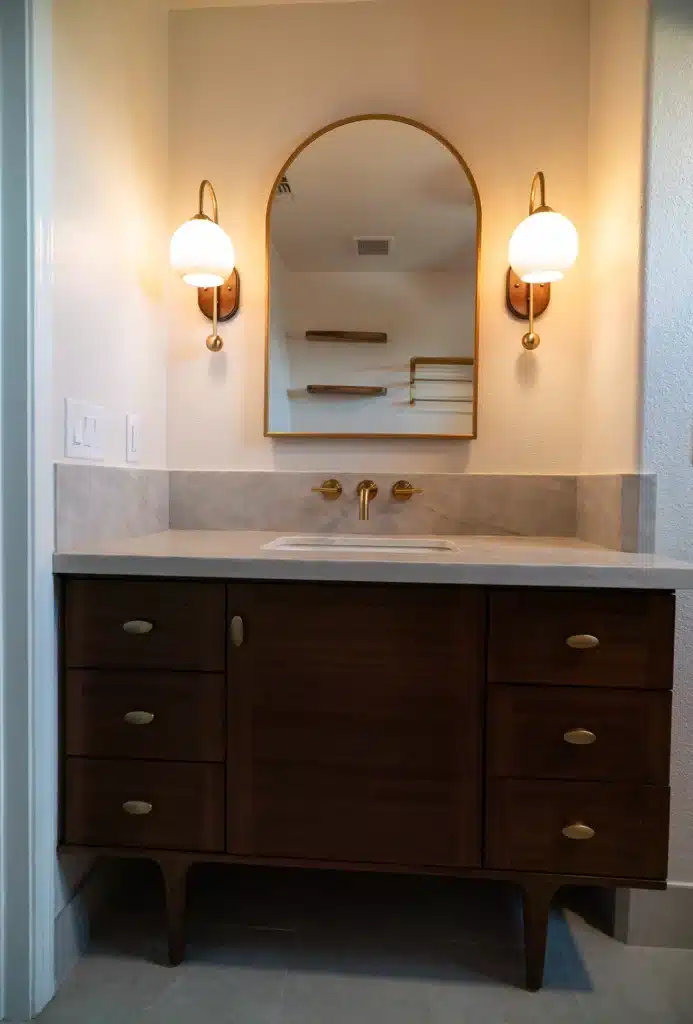
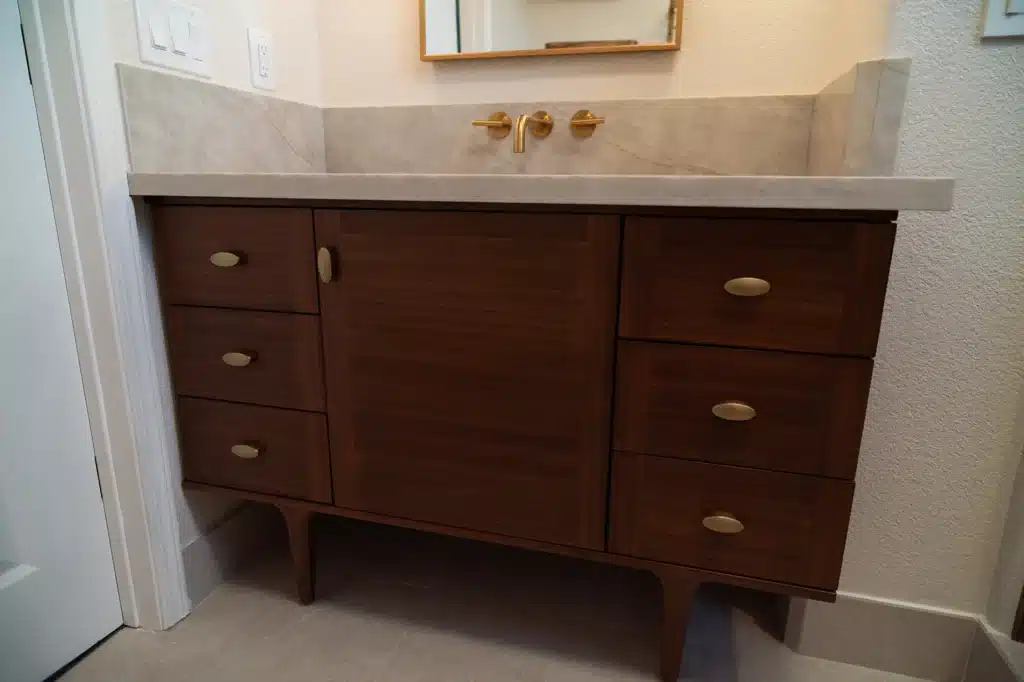
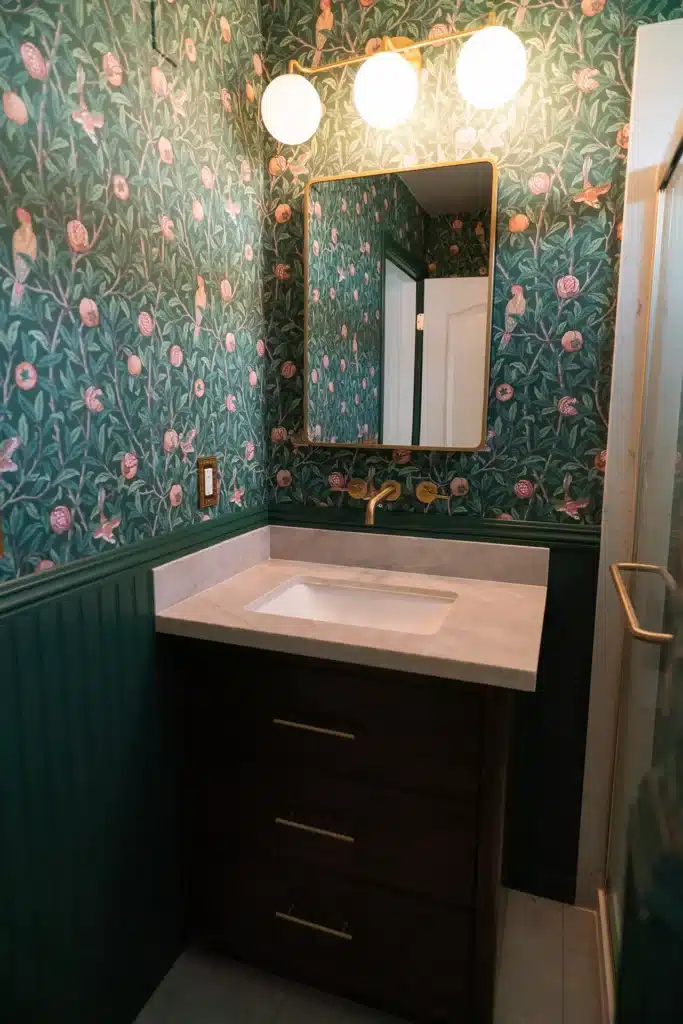
A freestanding single-sink vanity was leveled, secured to the wall, and fitted with its doors, drawers, and hardware. Doors and drawers were adjusted for even reveals and smooth operation, and the space was vacuumed clean.
Plumbing
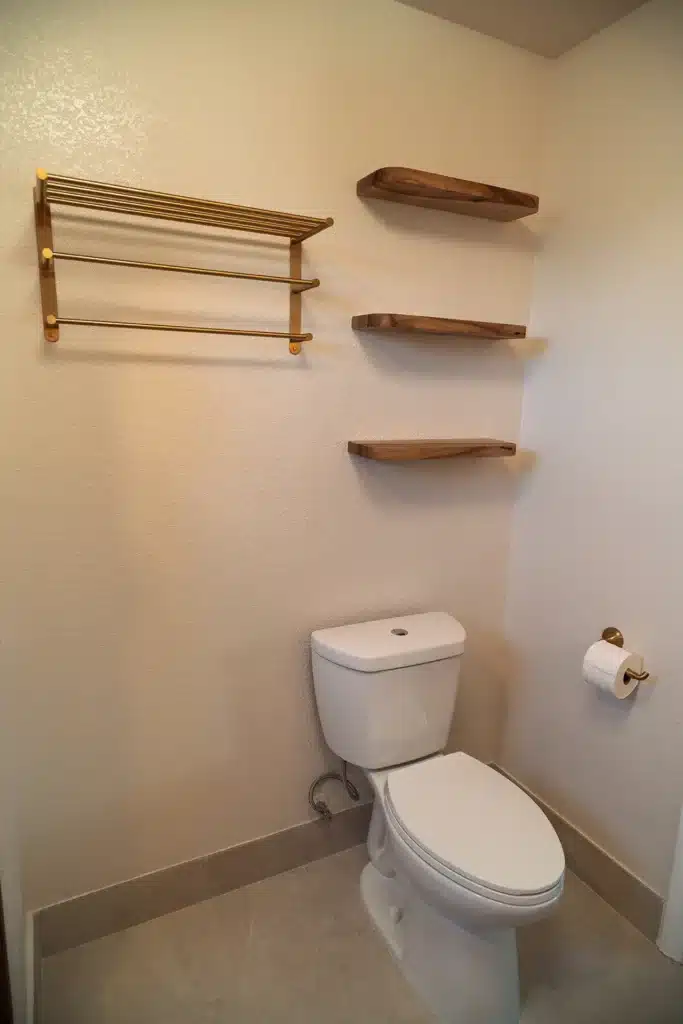
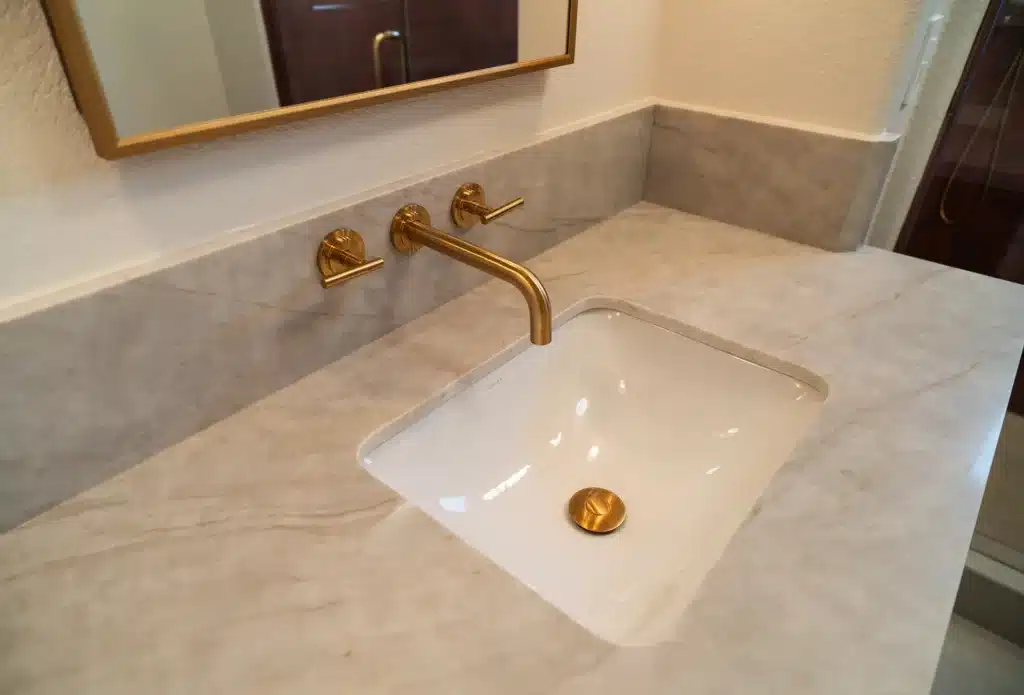
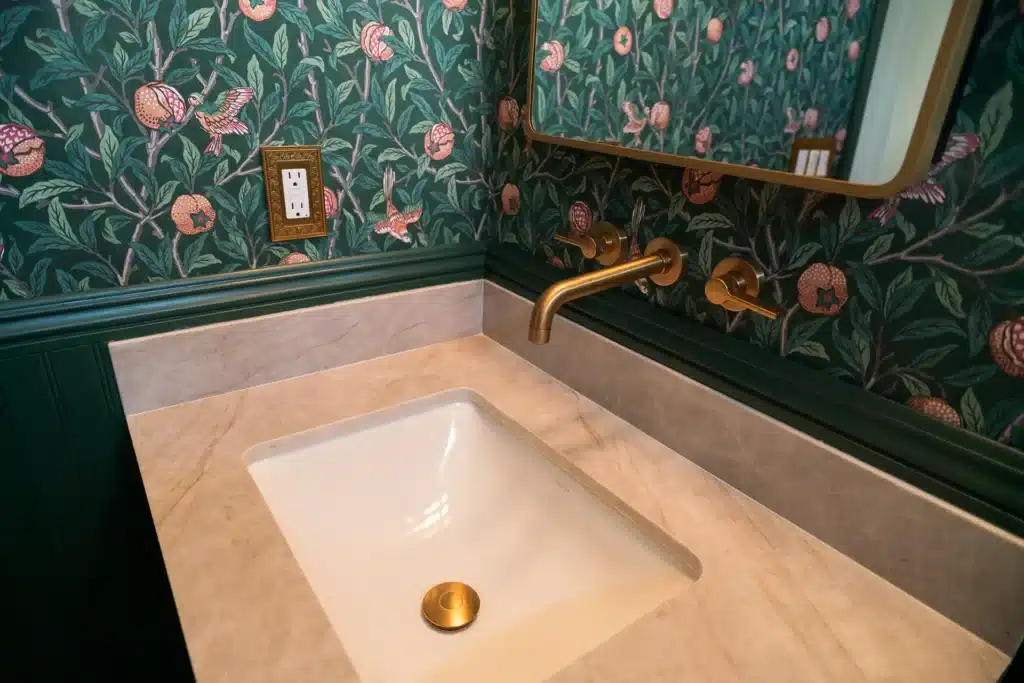
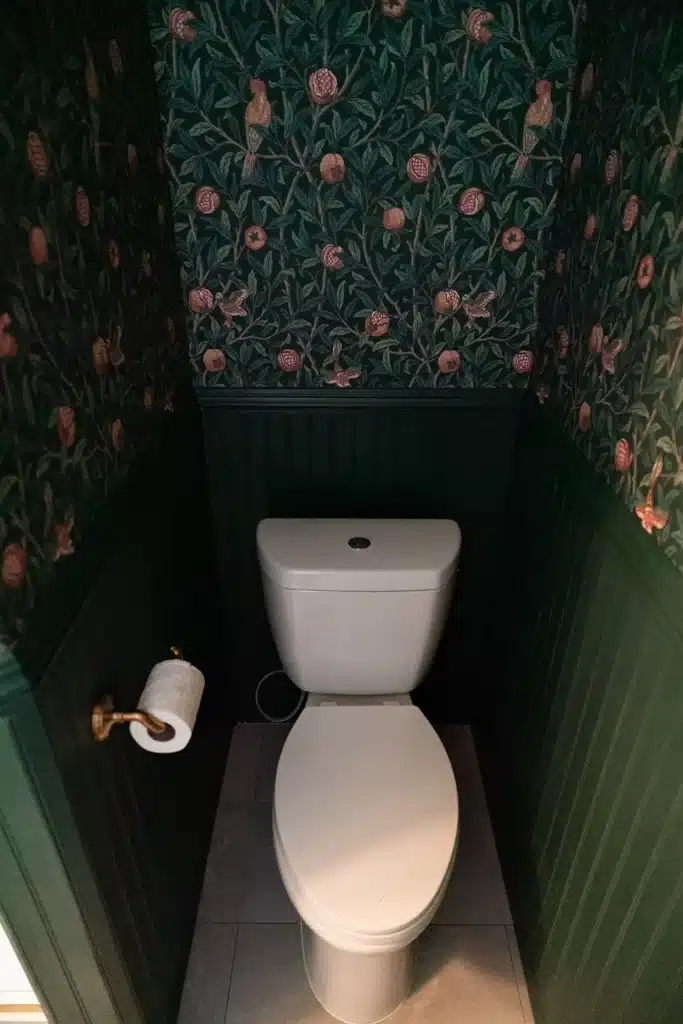
Rough-in plumbing covered water supply lines and DWV piping to code, including relocating the tub drain for the tub-to-shower conversion. Finish plumbing included setting the toilet, shower fixtures, and faucet, connecting supply lines, installing trim kits, and full testing and adjustment. Fixtures: a single-handle 1-spray tub-and-shower faucet with valve, a round single-handle single-hole vanity faucet, and a 2-piece 1.28 GPF high-efficiency round toilet in white.
Electrical
Rough-in wiring, boxes, conduit, and circuits were installed per plan, followed by:
- 2 recessed can lights
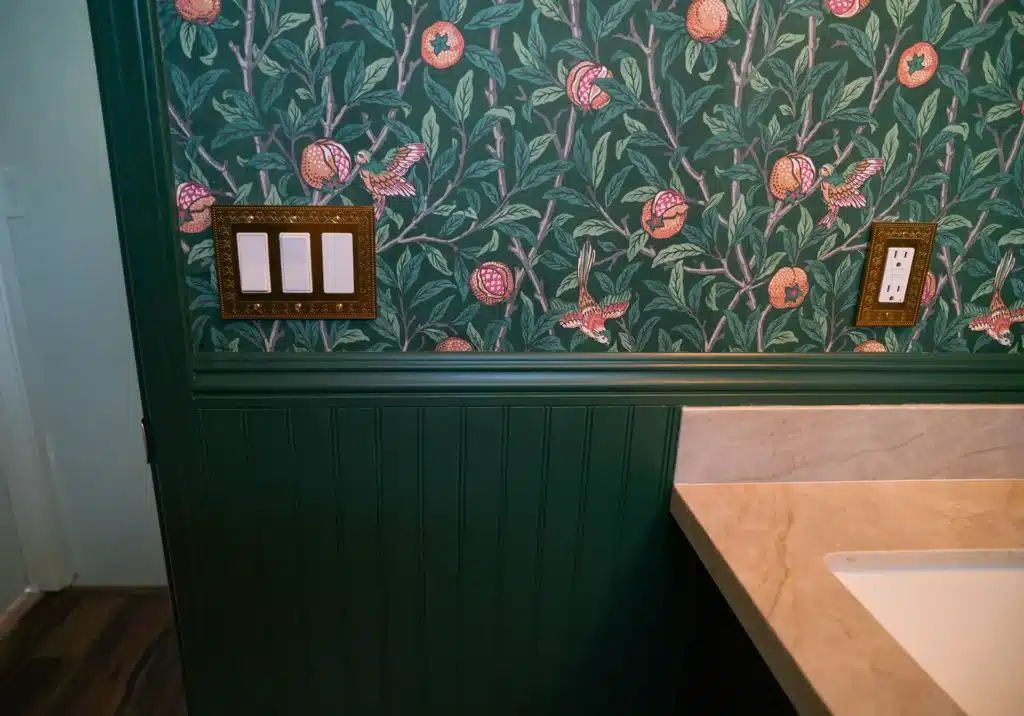
- A new vanity light (within 20 LF of the power source)
- A new exhaust fan
If an existing switch can’t be reused for a new fixture, a new switch is added.
Custom tile shower
Shower walls and pan were prepped with rough waterproofing materials across roughly 75–80 square feet. Tile was then laid on the walls and pan in a standard layout, cut and spaced for clean alignment, and tiled around the arched entry for a finished, sculpted look. Joints were grouted and cleaned. A custom shower door was placed, leveled, anchored, and adjusted for proper seal and smooth operation, and a dedicated exhaust fan was installed in the shower.
Flooring & baseboard
The existing subfloor was repaired, ground, and leveled before new flooring went in, and new standard-profile baseboard (5½” default) was installed throughout the room.
Finish accessories
Towel bars, shelves, toilet paper holder, shower rod, robe hooks, and two recessed/surface-mount medicine cabinets (15⅛” W x 19¼”) were installed — with every location confirmed with the homeowner before anything was fastened to the wall.
Hallway Bathroom Remodel
The guest bath got the same treatment on a more streamlined, budget-smart spec.
Demolition
Out came the vanity, vanity light, and mirror; the tub; the toilet; and all wall and floor tile — with full surface protection, debris handling, and cleanup.
Framing
- A recessed niche was framed above the new vanity location for a medicine cabinet
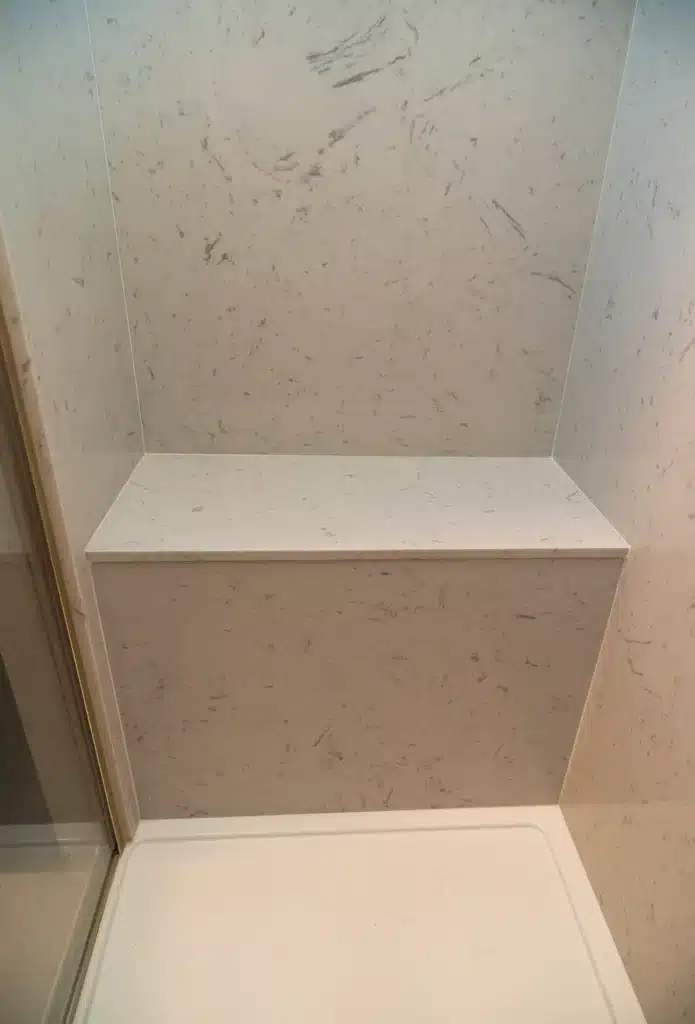
- A built-in shower bench was framed and constructed
- The wall behind the shower was left as-is, keeping the scope efficient
Drywall, texture & paint
Walls were drywalled and patched as needed after demo, taped and textured to match the existing bathroom, then primed and painted in up to two colors, ceiling included.
Vanity
A 24″ stock prefabricated single-sink vanity was assembled, leveled, and secured to the wall.
Plumbing
Water and drain lines were relocated to serve the new vanity position, and the tub drain was relocated for this room’s tub-to-shower conversion. Finish plumbing set the toilet, sink, and faucets, connected supplies, installed trim kits, and completed testing. Fixtures matched the master: single-handle 1-spray tub/shower faucet with valve, round single-hole vanity faucet, and a 1.28 GPF high-efficiency toilet.
Electrical
Rough-in wiring plus two recessed can lights, a vanity light, and a new exhaust fan.
Shower enclosure
Walls and pan were prepped (roughly 75–80 SF of rough materials), an acrylic shower pan (up to 60″ x 36″) was installed, and a prefabricated quartz shower surround was set on three walls up to 84″ in height — a low-maintenance, grout-free alternative to tile. A standard pivot/sliding glass shower door with a side panel was installed, leveled, anchored, and adjusted.
Flooring & baseboard
Subfloor repaired, ground, and leveled; new tile flooring laid in a standard pattern; new 5½” standard-profile baseboard installed.
Finish accessories
Towel bars, shelves, toilet paper holder, shower rod, robe hooks, and two medicine cabinets — placed per the homeowner’s direction.
Material Allowances — How We Keep Pricing Honest
Every finish material on this project was quoted against a defined allowance (vanities, faucets, toilets, tile, LVP, baseboard, medicine cabinets, shelves, shower pan, quartz surround, glass door, window, and exhaust fans). That means you know your budget up front and can spend up, down, or right at the allowance based on what you actually fall in love with at the showroom.
One thing worth knowing: tile and vinyl plank are often sold by the box, not by the square foot. When that happens, more material has to be purchased than the project strictly needs, and that overage is passed through. Final square footage is locked in once the product and vendor are selected.
Why Homeowners Choose Tenax Construction
This project is a good example of what full-service actually means: design, permits, structural framing, a new exterior window with stucco patching, two tub-to-shower conversions, custom arched tile work, and finish carpentry — all handled by one licensed team with one point of contact. No juggling subs, no gaps between trades, no finger-pointing.
We serve homeowners across Sacramento, Placer, and El Dorado counties, including Roseville, Rocklin, Folsom, Granite Bay, Fair Oaks, Carmichael, El Dorado Hills, Elk Grove, Lincoln, Loomis, Antelope, Natomas, Rancho Cordova, Auburn, and Cameron Park.
Thinking about remodeling one bathroom — or two at once? Doing both in a single project shares demolition, permitting, and plumbing mobilization, which almost always beats running two separate remodels a year apart.
Tenax Construction Inc.
4205 Cincinnati Ave, Suite 300, Rocklin, CA 95765
(916) 586-8845 · sales@tenaxconstruction.com
License #1057033 · tenaxconstruction.com